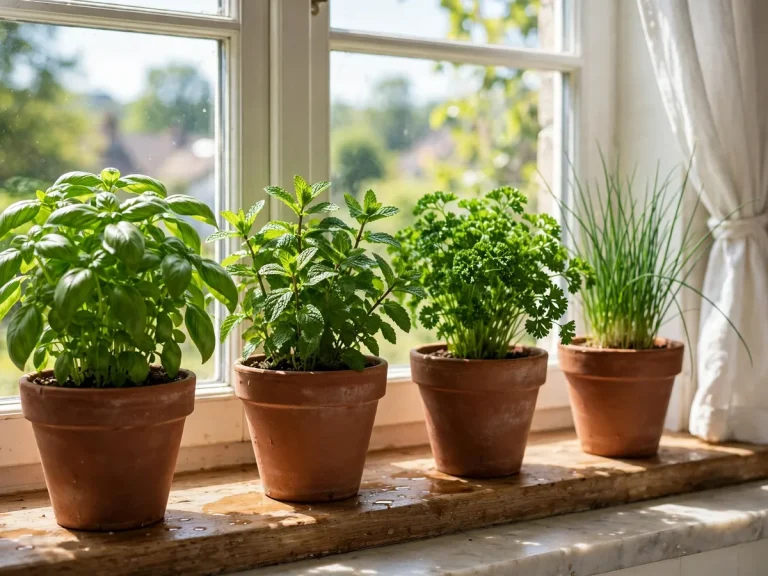
15 Indoor Hydroponic Herb Garden Ideas for Small Spaces
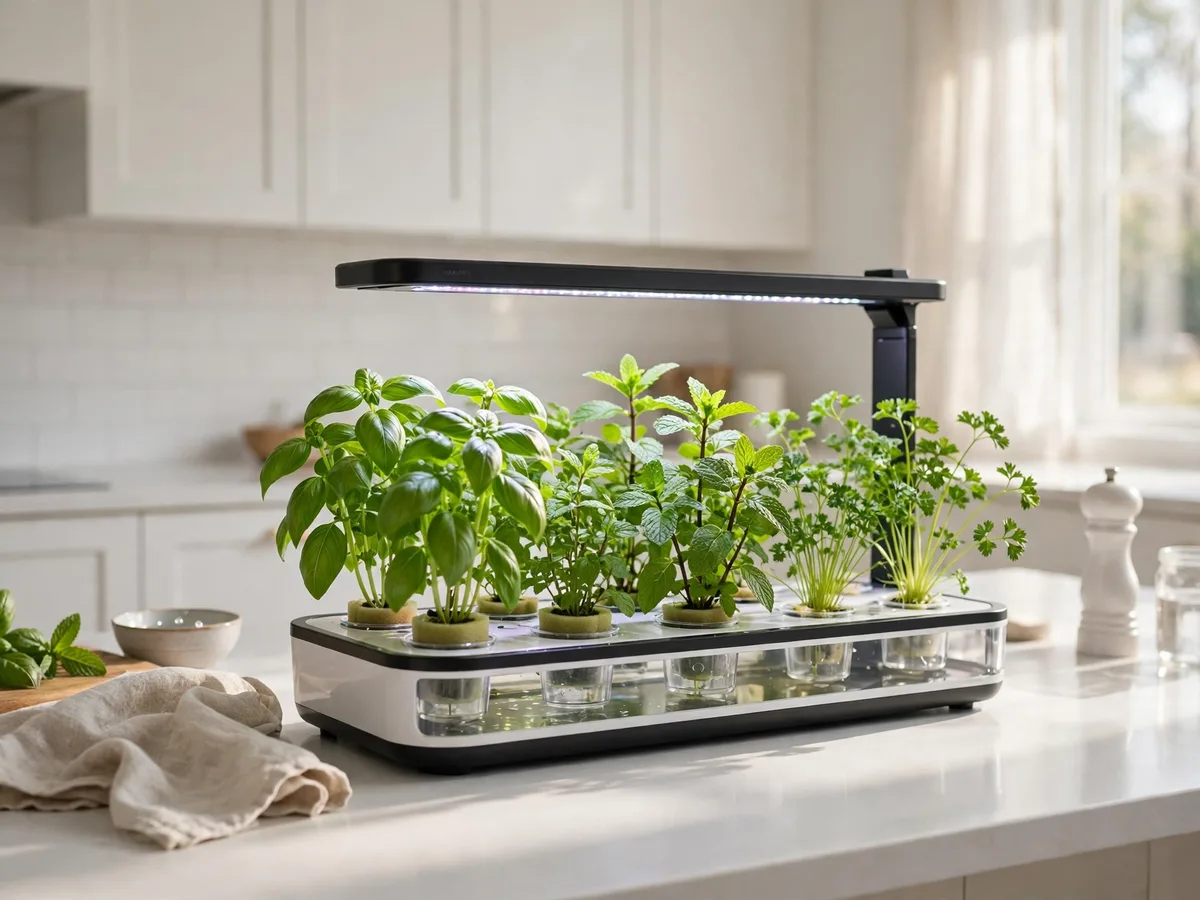
An indoor hydroponic herb garden grows fresh herbs in water instead of soil. The roots sit in a nutrient solution, so basil, mint, and parsley grow fast with almost no mess. You do not need a yard, a balcony, or even a sunny window. A countertop kit or a simple jar can grow herbs in a small kitchen all year.
This guide shows 15 indoor hydroponic herb garden ideas for small spaces, from countertop kits to DIY buckets you can build in an afternoon. Each idea names the system, the herbs that grow best in it, and the cost to start. Pick the one that fits your kitchen, your light, and your budget. If you rent, most of these ideas need no drilling and move with you.
Hydroponics sounds technical, but the basics stay simple. You control light, water, and nutrients, and the plants do the rest. Start with one herb you cook with every week, and add more once the first jar is full of green.
Before You Start: 4 Hydroponic Basics
Four numbers run a hydroponic herb garden. Keep the pH between 5.5 and 6.5, since herbs absorb nutrients best in that range. For basil, keep the EC near 1.0 to 1.6 as a starting range, and check both with a cheap meter once a week. Targets vary by source and growth stage, so treat the number as a starting point, not a fixed rule. A small change in pH can lock out nutrients, so test before you feed.
Light is the second basic. Give herbs 14 to 16 hours of LED grow light a day, since most kitchens give far less sun than herbs need. Aim for a daily light total near 12 to 17 mol per square meter per day. Keep the room between 65 and 75 degrees, and add a small fan, since moving air strengthens stems and lowers the risk of mold.
- pH: 5.5 to 6.5
- EC for basil: 1.0 to 1.6 (starting range)
- Light: 14 to 16 hours of LED a day
- Temperature: 65 to 75 degrees
Start herbs in rockwool cubes or sponge plugs, and sow new plugs every 2 to 4 weeks for a steady supply. Basil sprouts in 5 to 10 days, parsley takes 2 to 3 weeks, and chives can take up to 11 weeks to mature. Let tap water sit uncovered for a day to off-gas chlorine before you add nutrients, and start young plants at half strength. Clay pebbles, coco coir, perlite and vermiculite all work as growing media; pick one and keep it consistent.
1. Start With a Countertop Indoor Hydroponic Herb Garden Kit
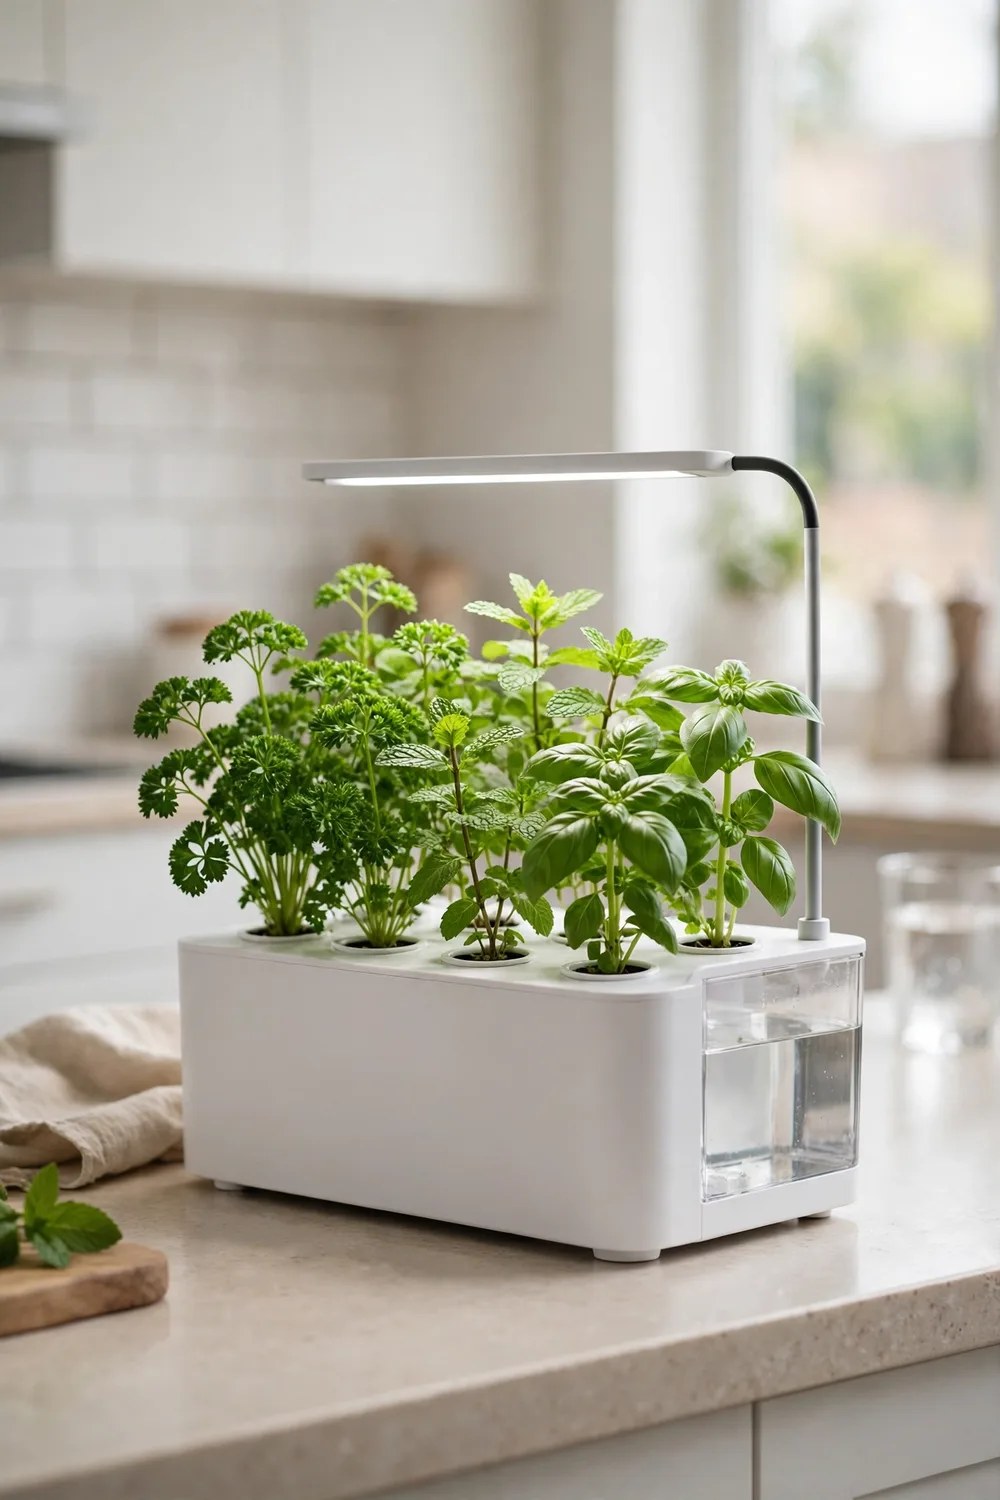
A countertop all-in-one kit is the easiest way to start. It packs a water tank, a pump, seed pods, and a grow light into one small box. You fill the tank, drop in the pods, and plug it in. Small countertop kits run about 40 to 100 dollars, while larger multi-tier systems reach 200 to 430 dollars, so pick a small one first and upgrade later if you love it.
Basil, mint, and parsley grow fast in these kits, since the light and water stay steady. I run one on my kitchen counter, and the basil outgrew the light arm in five weeks. The pods make planting foolproof, but the built-in light can feel weak for big basil plants. For a wider set of soil setups, browse these indoor herb garden ideas and pick the style that fits your kitchen.
2. Build a 5-Gallon DWC Indoor Hydroponic Herb Garden
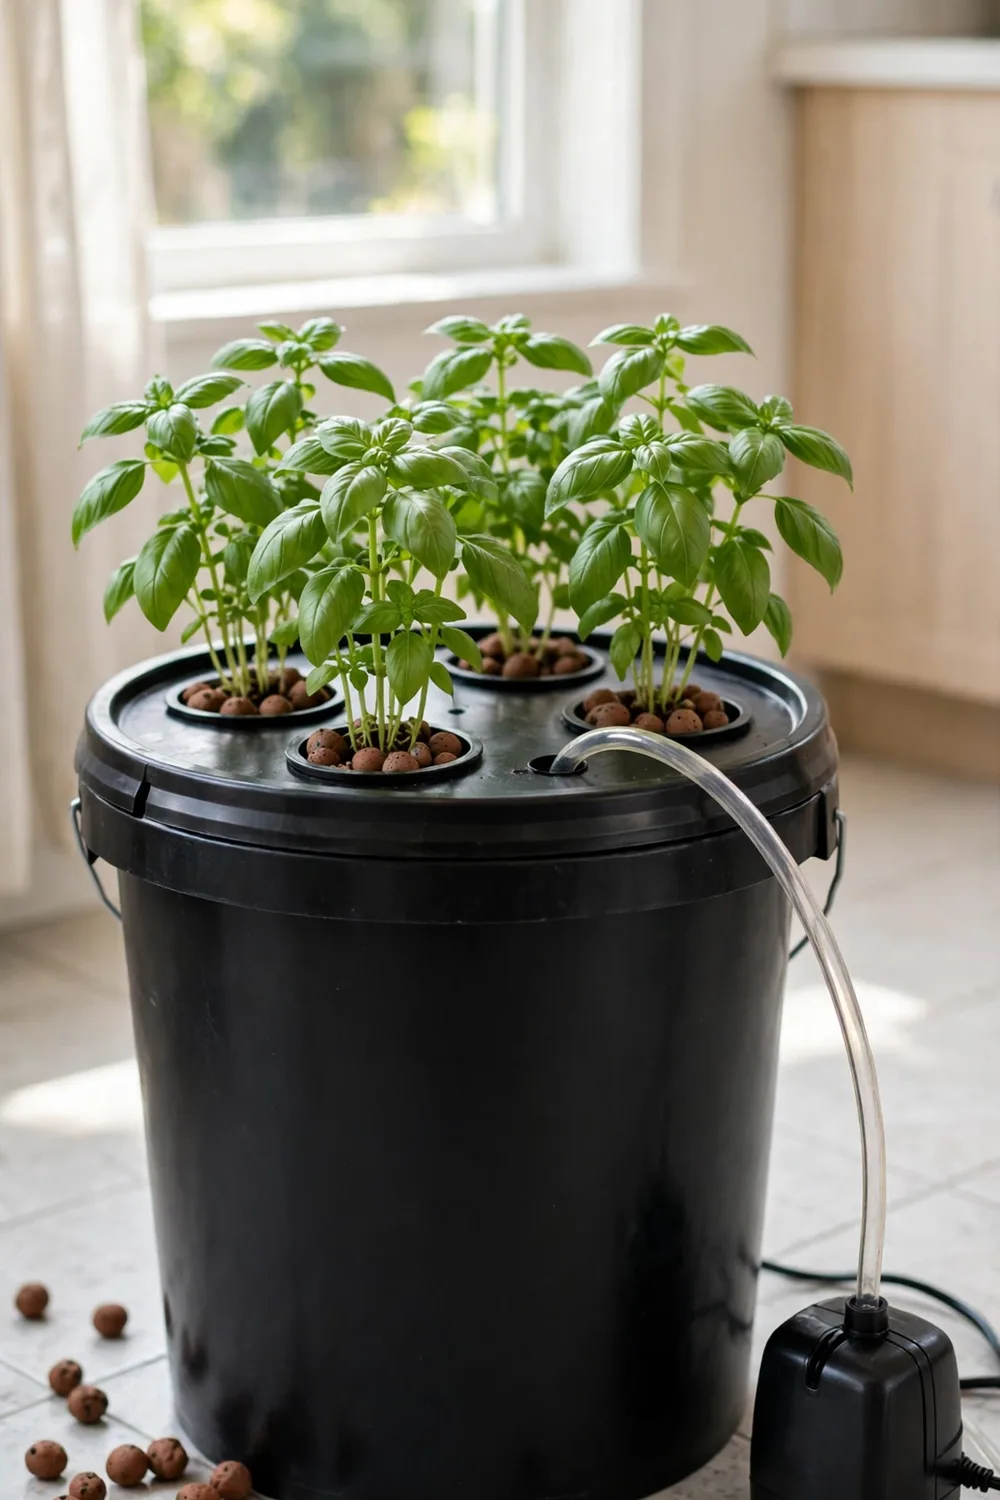
A 5-gallon DWC bucket is the cheapest real hydroponic system. The parts cost about 30 to 50 dollars: one opaque bucket, a lid with net pots, an air pump, and clay pebbles. The pump bubbles air through the nutrient water, so the roots get oxygen all day. Build it in one afternoon, and it will grow herbs for years.
DWC teaches you the core skills: mixing nutrients, checking pH, and watching EC. I built my first bucket on a Saturday, and the basil was ready to pick in four weeks. Keep the bucket opaque, since light feeds algae and algae steals nutrients. A DWC bucket suits a few hungry herbs at once, since a 5-gallon lid holds several net pots, though it will not grow a whole wall of plants.
3. Grow Herbs in a Kratky Jar With No Pump
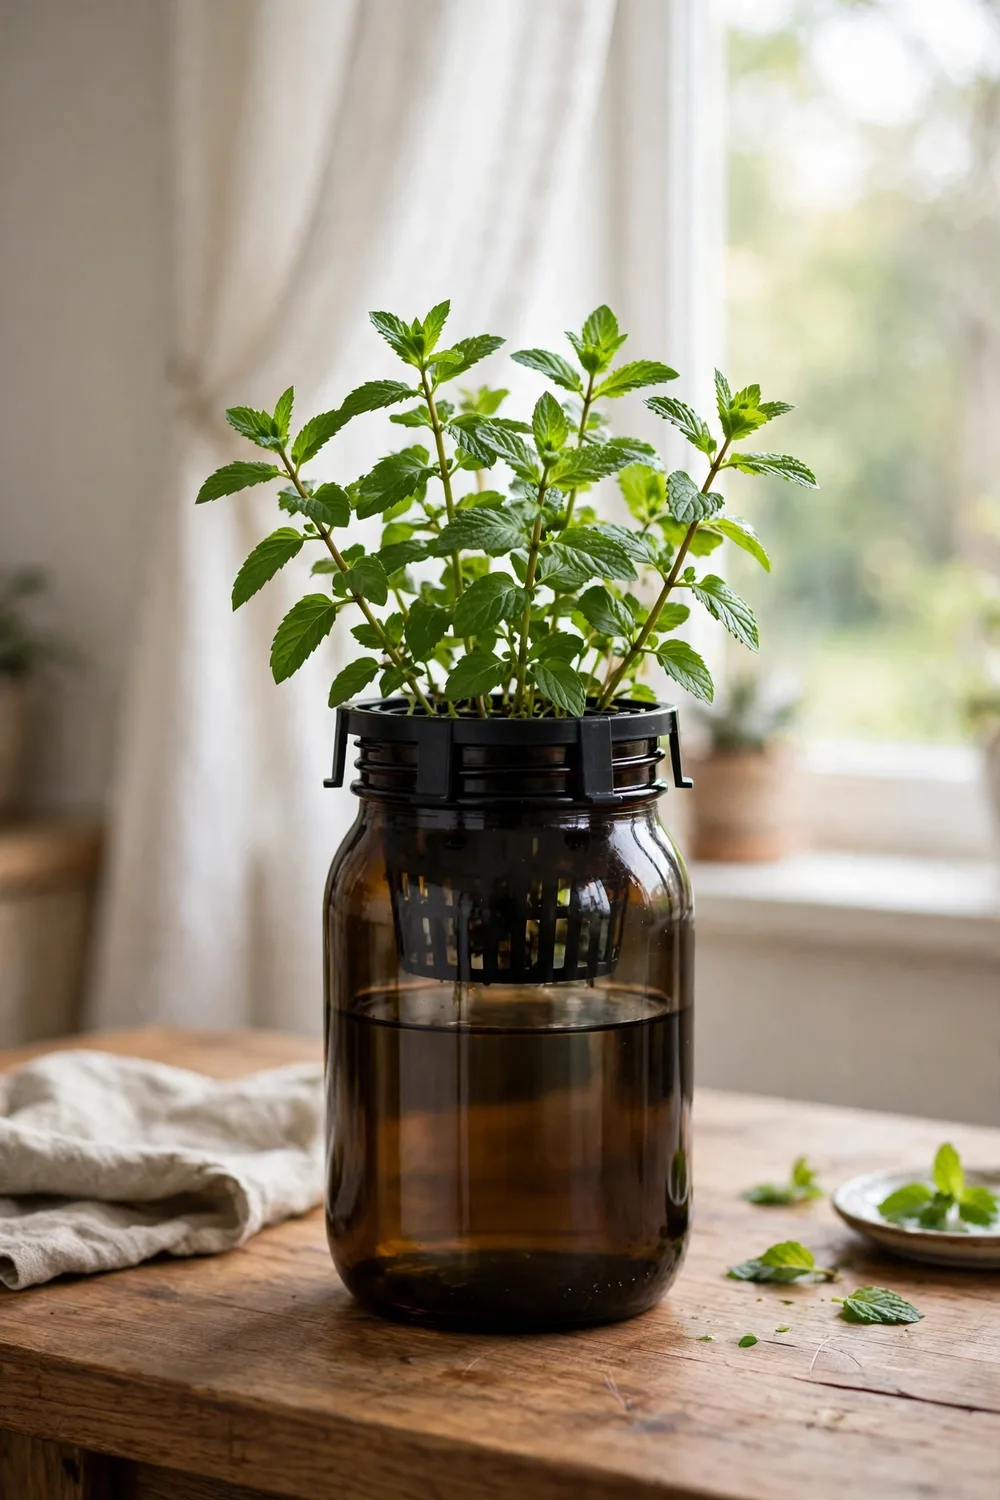
A Kratky jar grows herbs with no pump and no power. You fill a jar with nutrient water, set a net pot in the lid, and let the roots drink as the water level drops. The gap between the water and the lid gives the roots air. It suits renters best, since it needs no wiring and no noise.
Start with one herb per jar, and use a dark jar or wrap it in paper. I keep a Kratky mint jar on my desk, and it ran untouched for a whole month, since a true Kratky is a single fill. If you do top it up, keep the water below the net pot, so the air gap stays open for the roots. Check the water weekly, since a dry jar kills roots fast. Kratky is the simplest system on this list, and the best first test of hydroponics.
4. Flood a Tray With an Ebb and Flow Hydroponic Herb Garden
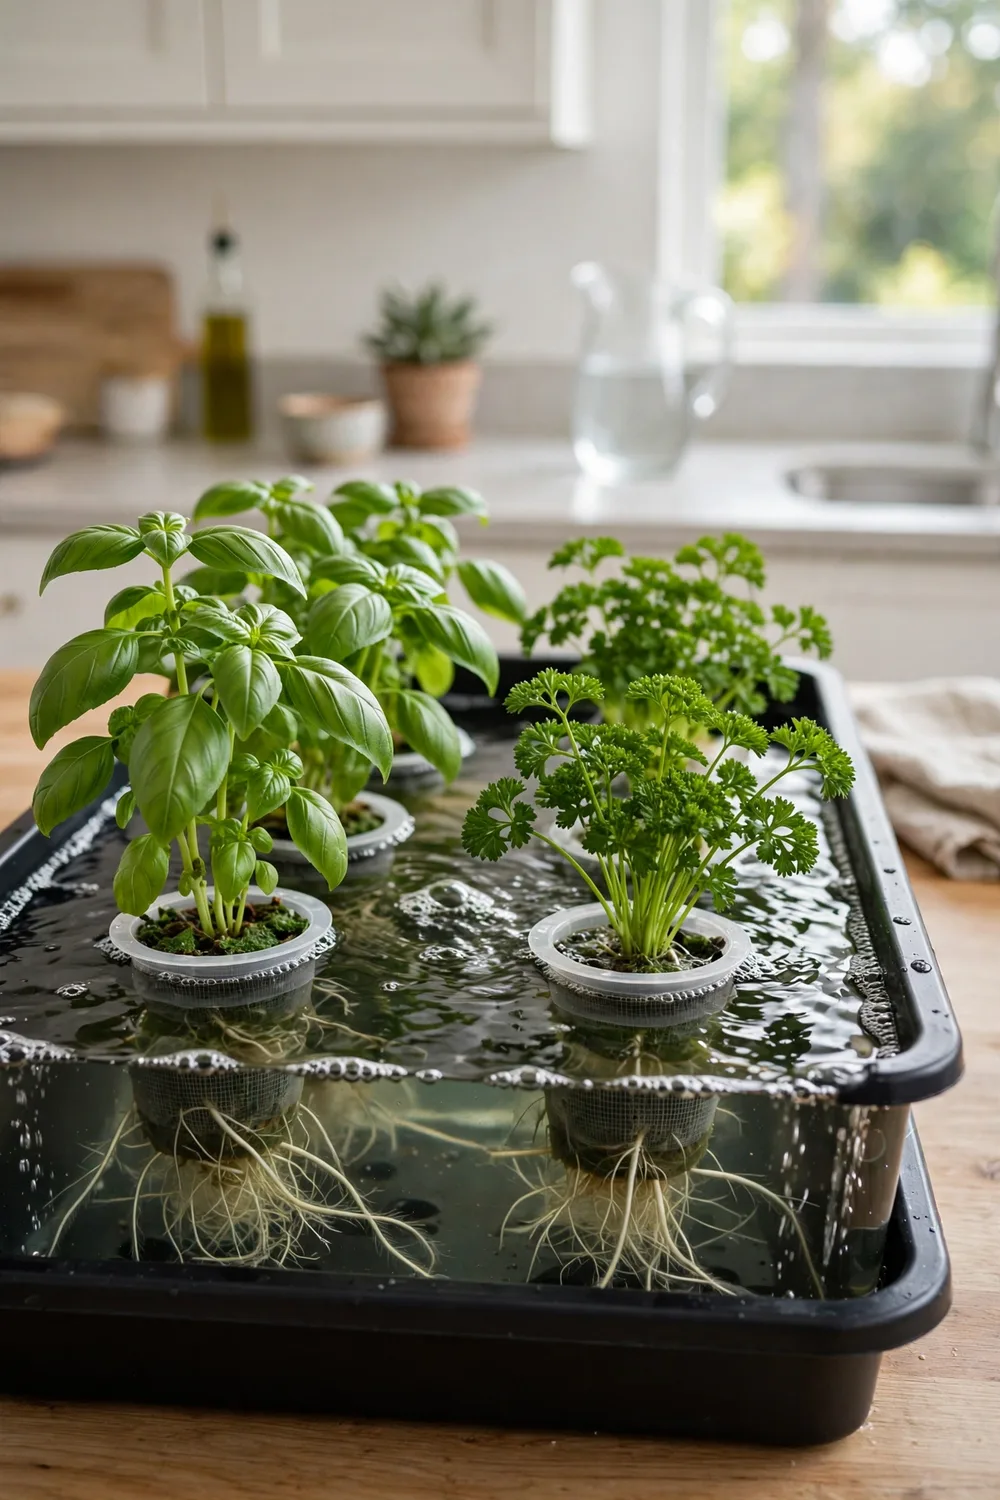
An ebb and flow system floods a tray of herbs with nutrient water, then drains it back to the tank, a few times a day. The roots get water and oxygen in turns, which is why growers call it one of the best systems for herbs. A timer runs the flood cycle, so the routine is hands-off once the tray is set.
Ebb and flow suits beginners, since the parts are simple and the system is forgiving. I run a small flood tray with basil and parsley, and the plants grow faster than in my Kratky jars. Keep the tray level, so every pot floods evenly, and check the timer weekly. One tray can hold a dozen small pots, and the pump only runs a few minutes at a time.
5. Run an NFT Rail Hydroponic Herb Garden
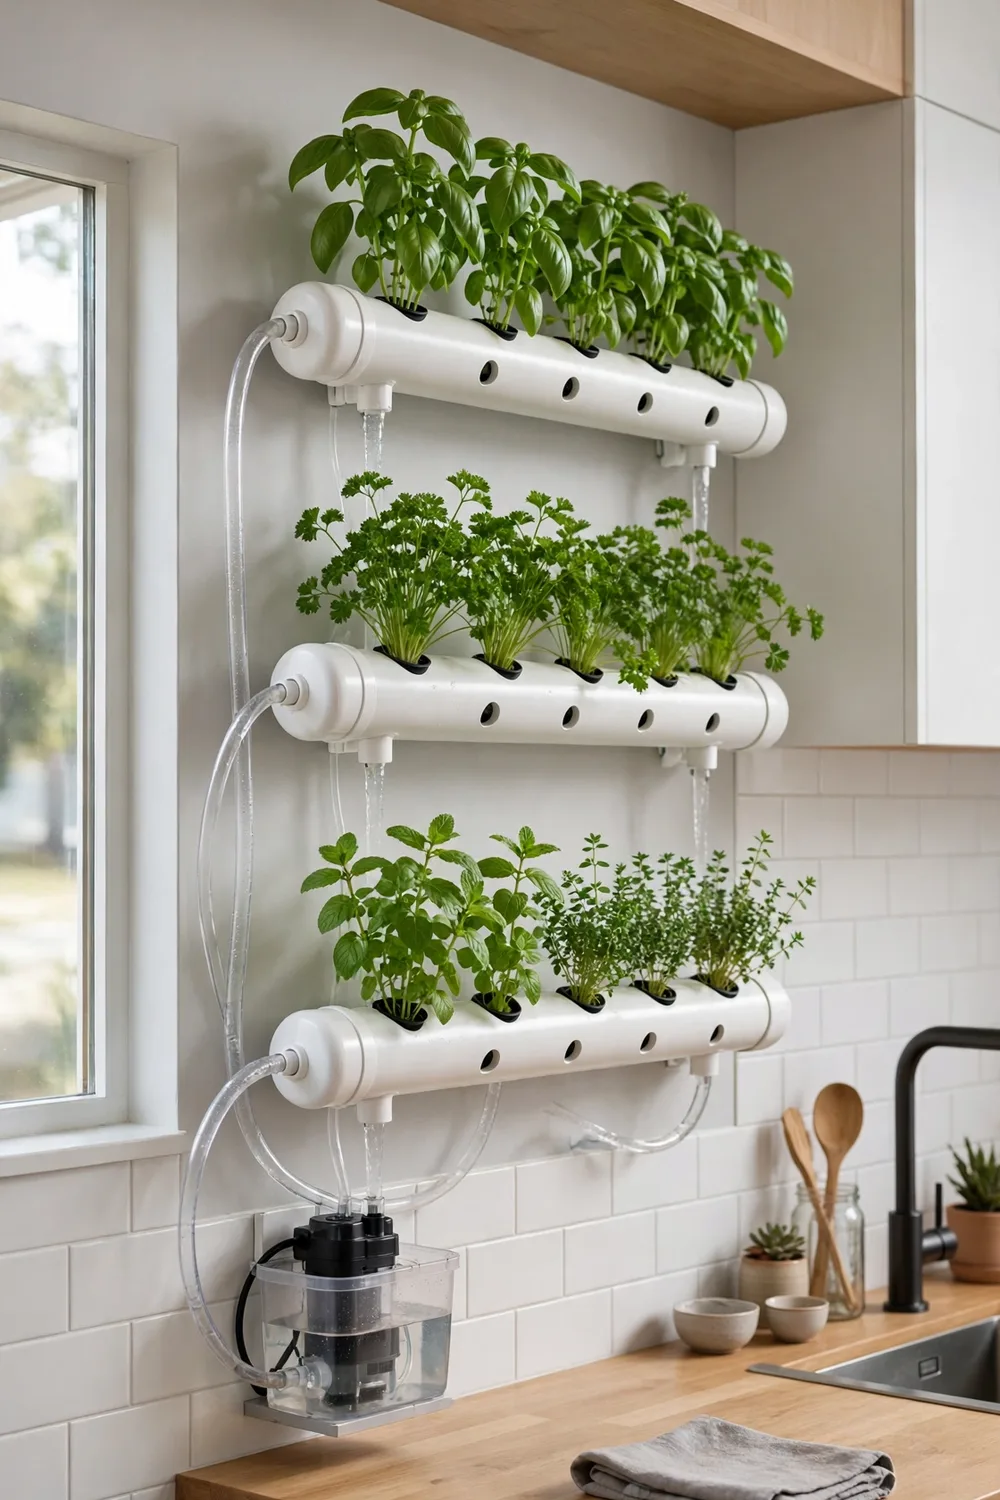
An NFT rail runs a thin film of nutrient water through a pipe, and the roots drink from the flow. It grows several herbs at volume, so it suits a serious grower with a spare wall. The build needs plumbing and flow tuning, and it takes more effort than any other system here.
A pump failure can dry roots within hours, so keep a spare pump on hand and check the pump daily. I watched a friend lose a whole rail of lettuce in one hot afternoon when the pump stopped. Start with a short rail and three herbs, and expand only after a month of steady runs. NFT rewards care, and it punishes neglect.
6. Build a Kitchen Counter Hydroponic Herb Garden With LED Light
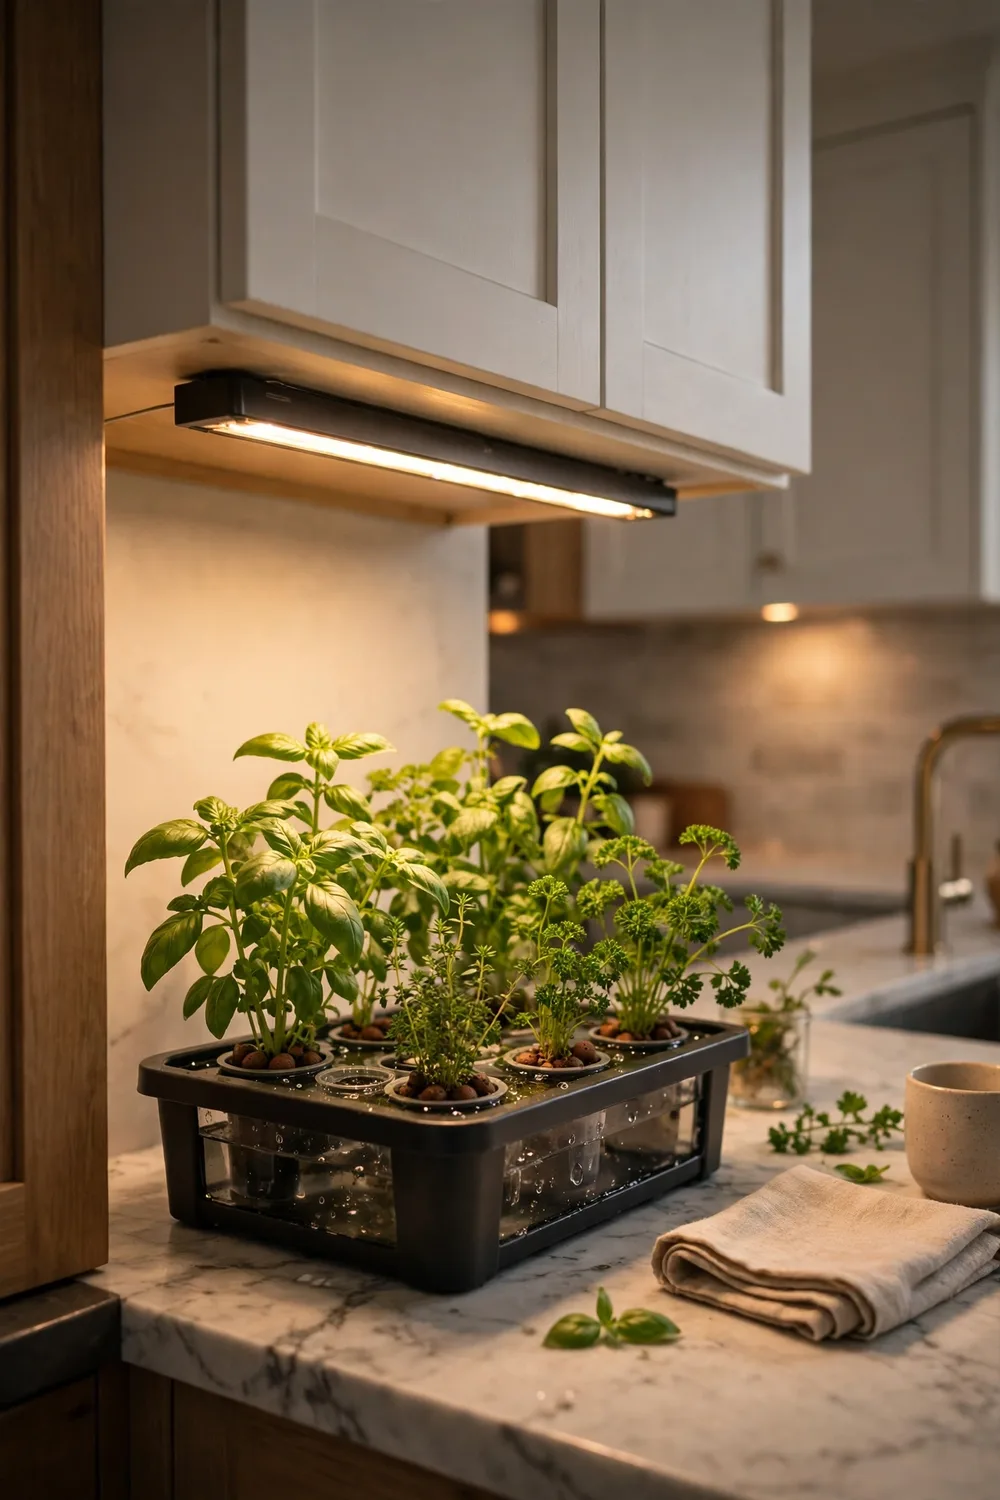
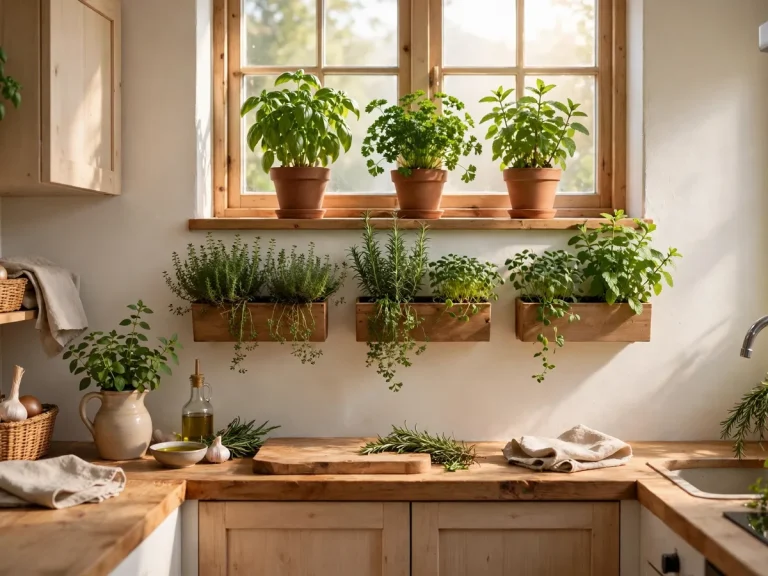
A kitchen counter grow station pairs a small hydroponic tray with an LED bar above it. The light runs 14 to 16 hours a day on a timer, so the herbs never wait for sun. Put the station near the stove, and fresh herbs sit within arm’s reach while you cook.
LED light stays cool, so the leaves rarely scorch, even inches from the bar. I mounted a light bar under my top cabinet, and the parsley below it grows thicker than the parsley on my sill. If you love the warm, humid feel of a glass growing box, these indoor greenhouse ideas show how a cabinet setup compares. Keep the light 6 to 12 inches above the leaves, and raise it as the plants grow.
7. Set a Hydroponic Herb Garden on the Windowsill
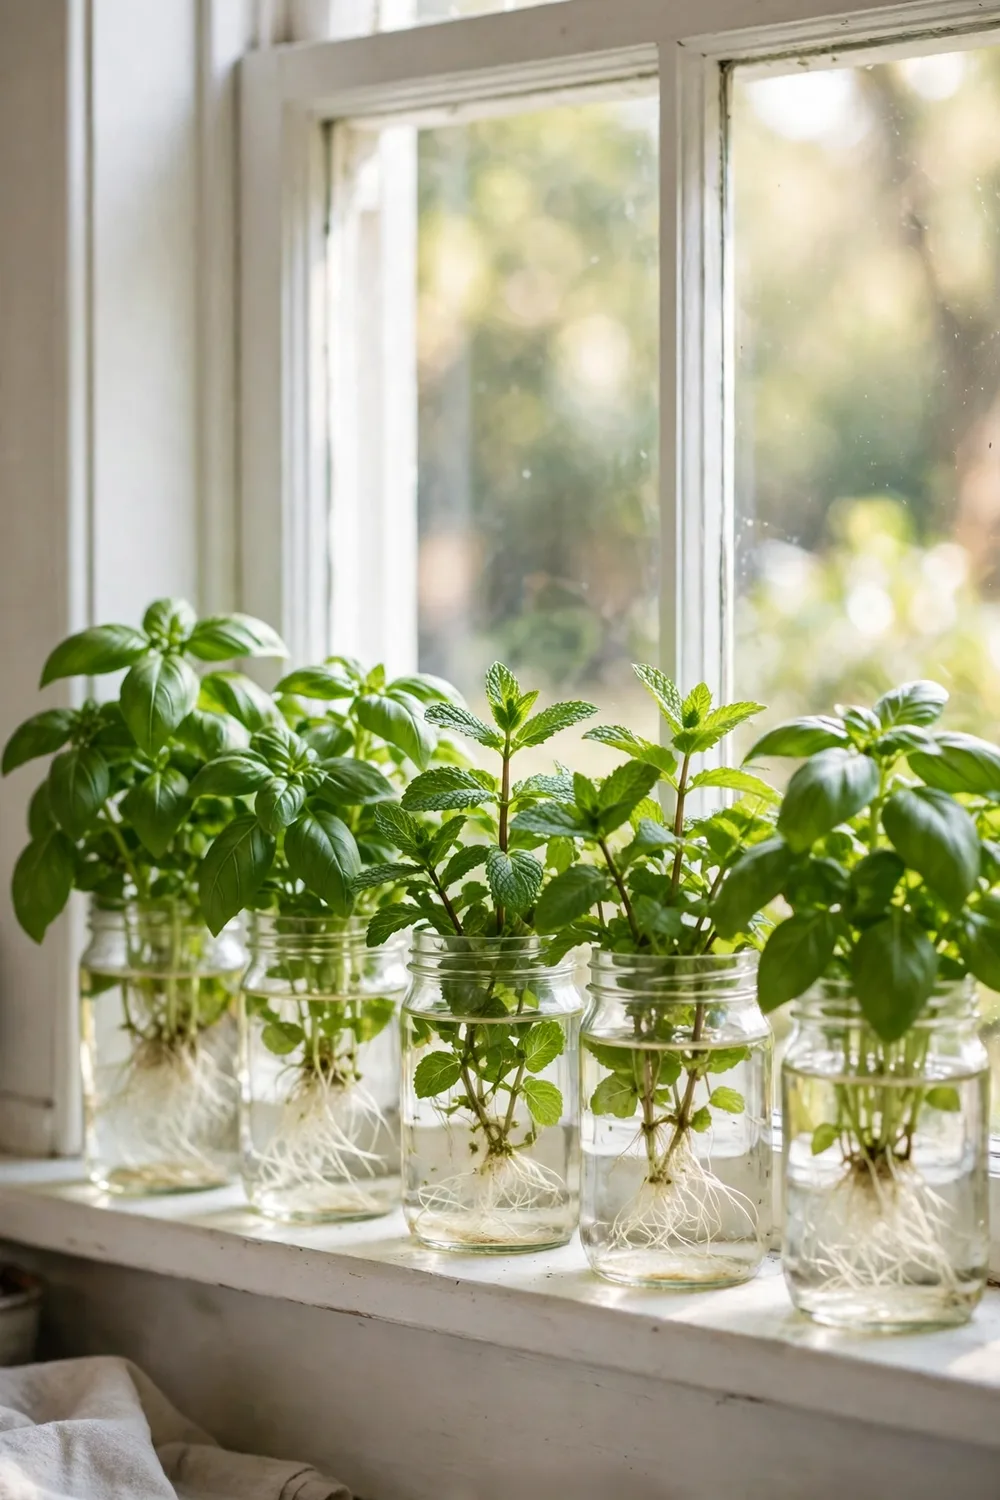
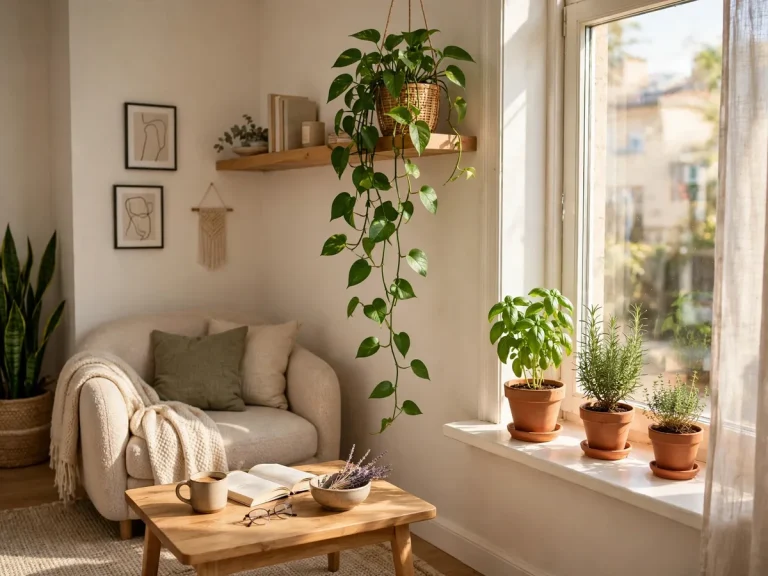
A windowsill hydroponic setup uses the sun you already have. Set a small tray or a row of jars on the sill, and let the window do the lighting. South and west windows work best, since herbs want six or more hours of bright light. Add a clip-on LED in winter, when the days run short.
Cold glass can chill roots at night, so move the jars a few inches back from the pane. I lost a basil plant to a frosty window before I learned that trick. Mint and chives handle a windowsill best, since they tolerate weaker light. Check the water level twice a week, since small jars dry fast in sun.
8. Stack a Tiered Shelf Hydroponic Herb Garden
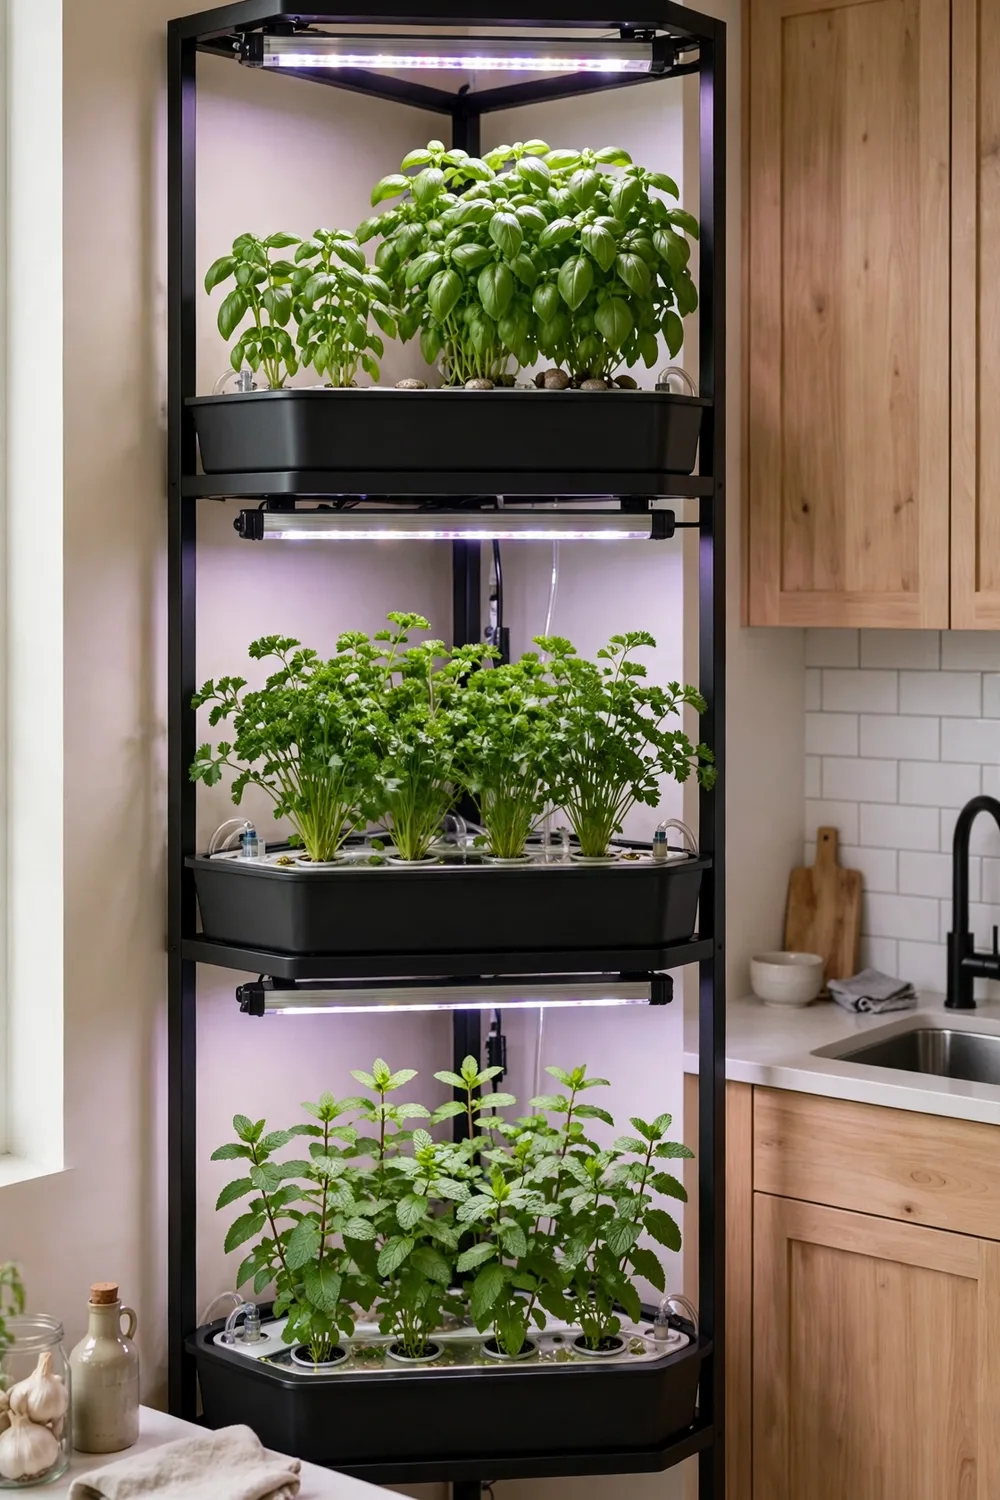
A tiered shelf hydroponic garden stacks two or three growing levels in one small footprint. Each shelf holds a tray with its own LED bar, so every level gets full light. Rolling shelves work best, since you can move the unit to chase the sun or to clean the floor.
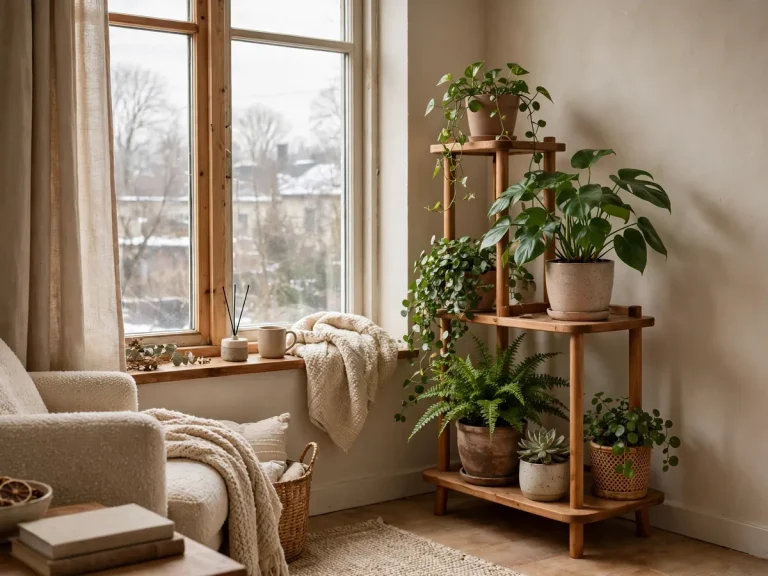
Put fast herbs on top, where the light is strongest, and slower herbs below. I run three levels in my spare corner: basil on top, parsley in the middle, and mint at the bottom. A shelf garden can hold a dozen plants, but start with six, so you learn the watering rhythm first. For soil plants in the same corner, a corner plant stand keeps the two gardens side by side without crowding.
9. Hang a Wall-Mounted Vertical Hydroponic Herb Garden
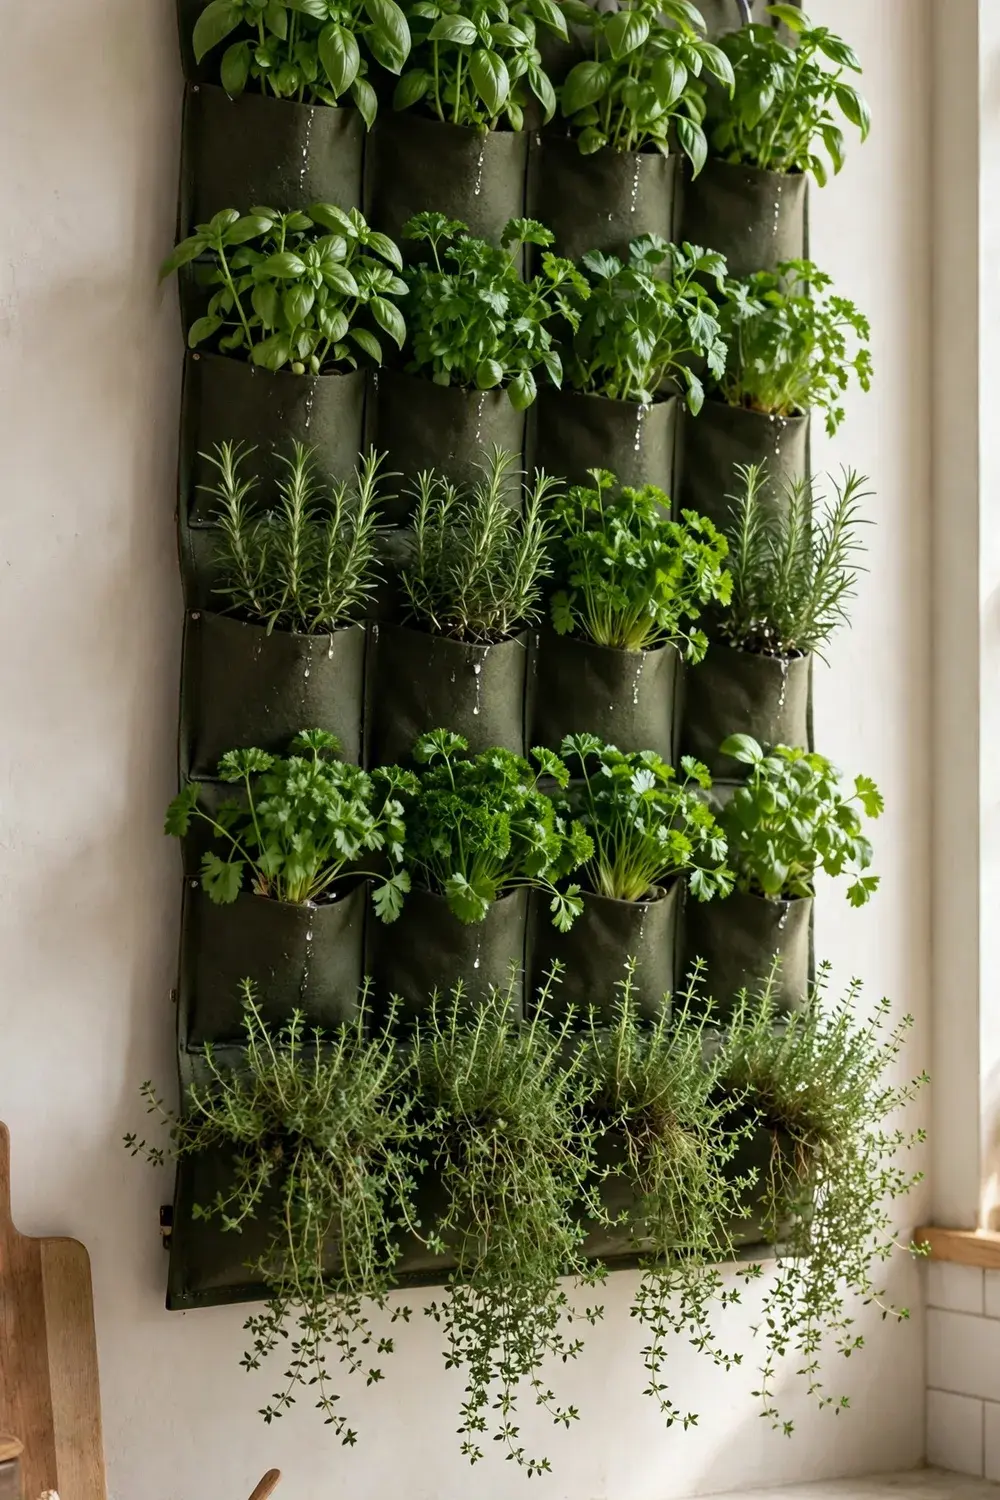
A wall-mounted vertical hydroponic garden grows herbs where floor space does not exist. Pockets or pipes run up the wall, and a small pump lifts nutrient water to the top. The water drips down through the roots and back to the tank. It suits tiny kitchens, dorms, and hallways best.
Keep the system light, since wall hooks hold less than floor shelves. Lower tiers get less light, so put the fastest herbs on top and check the bottom pockets first. I hung a three-pocket unit beside my sink, and the thyme inside spills over the edge now. Check the pump every morning, since a dry pocket kills a plant in a day. Grow compact herbs here, and leave big basil for the counter.
10. Grow Basil First, the Easiest Hydroponic Herb
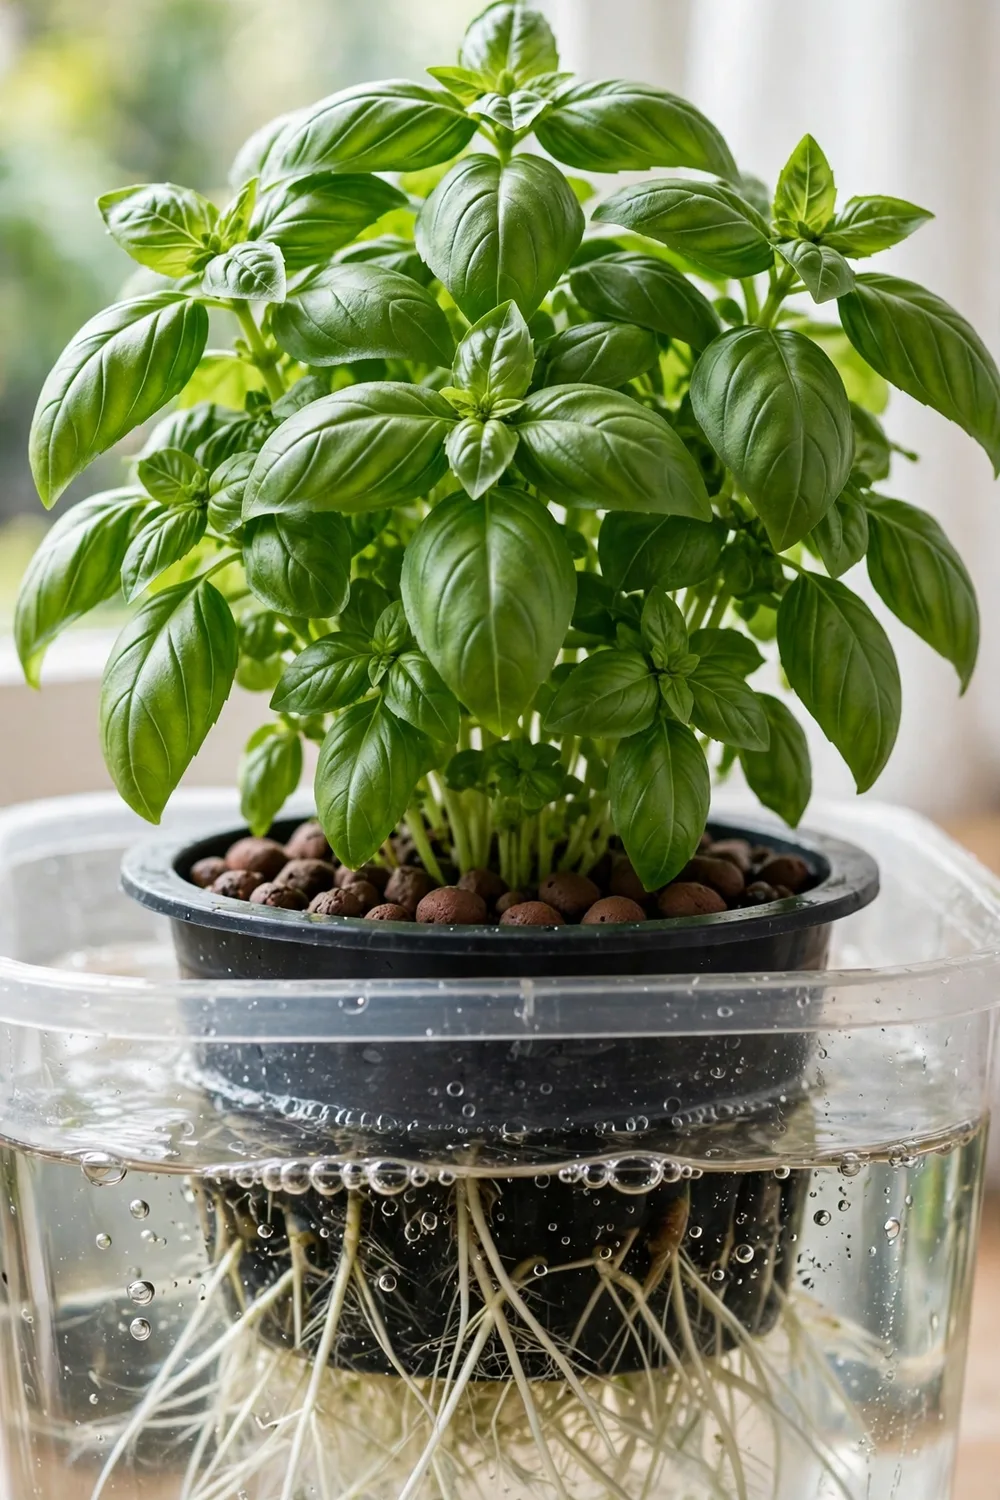
Basil is the easiest herb to grow in water, and the most rewarding. It grows fast, forgives small mistakes, and gives a first harvest in three to four weeks. Keep the EC near 1.0 to 1.6 as a starting range, since targets vary by source and growth stage, and start young plants at half strength. Give it warmth, pinch the tips so it stays bushy, and pinch off flower buds, since flowering makes the leaves bitter. Sweet Genovese basil is the best variety to start with.
Basil wants the most light of the easy herbs, so give it your brightest spot or a strong LED. I grow basil in every system I own, and it always outpaces the rest. For the full ranking of herbs by light and water needs, see the best herbs to grow indoors and pick your next three plants. Never let basil sit in cold water, since it hates chilled roots.
11. Grow Mint and Parsley in Water
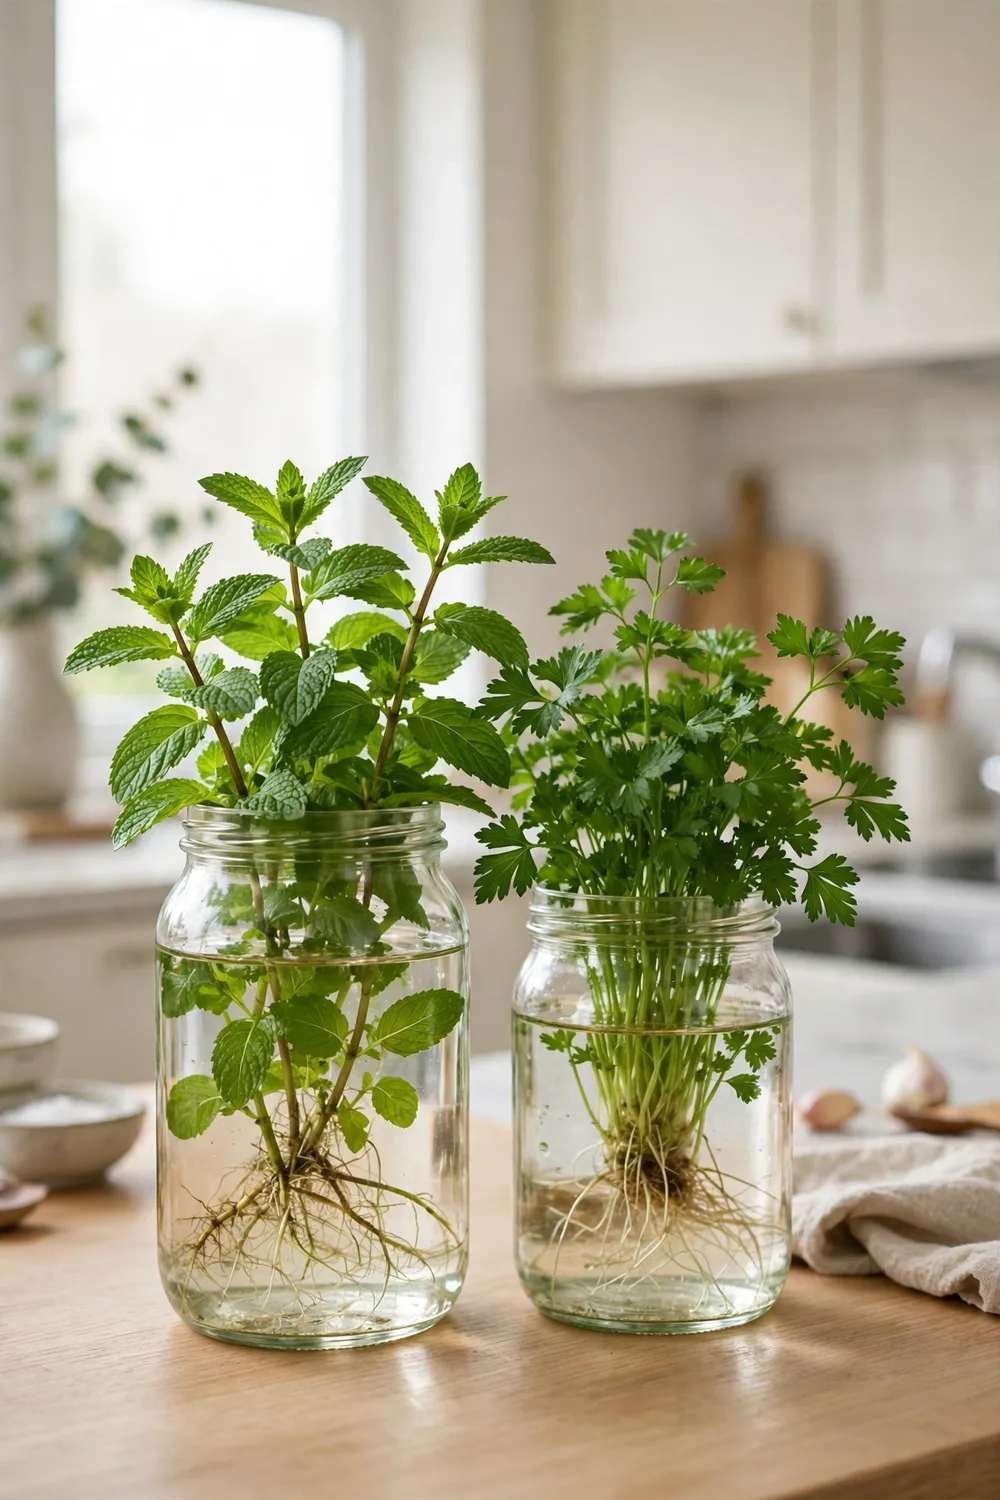
Mint and parsley are the most forgiving pair for water growing. Mint tolerates low light and uneven care, and it bounces back fast after cutting. Parsley grows slower, but it keeps producing for months. Grow mint in its own jar, since it spreads fast and crowds its neighbors.
Both herbs like steady moisture, so check the water level every few days. I snip mint for tea almost daily, and the plant has never slowed down. Harvest no more than a third of the plant at once, and cut just above a leaf pair, so two new shoots form and the plant keeps regrowing.
12. Grow Mediterranean Herbs in Water
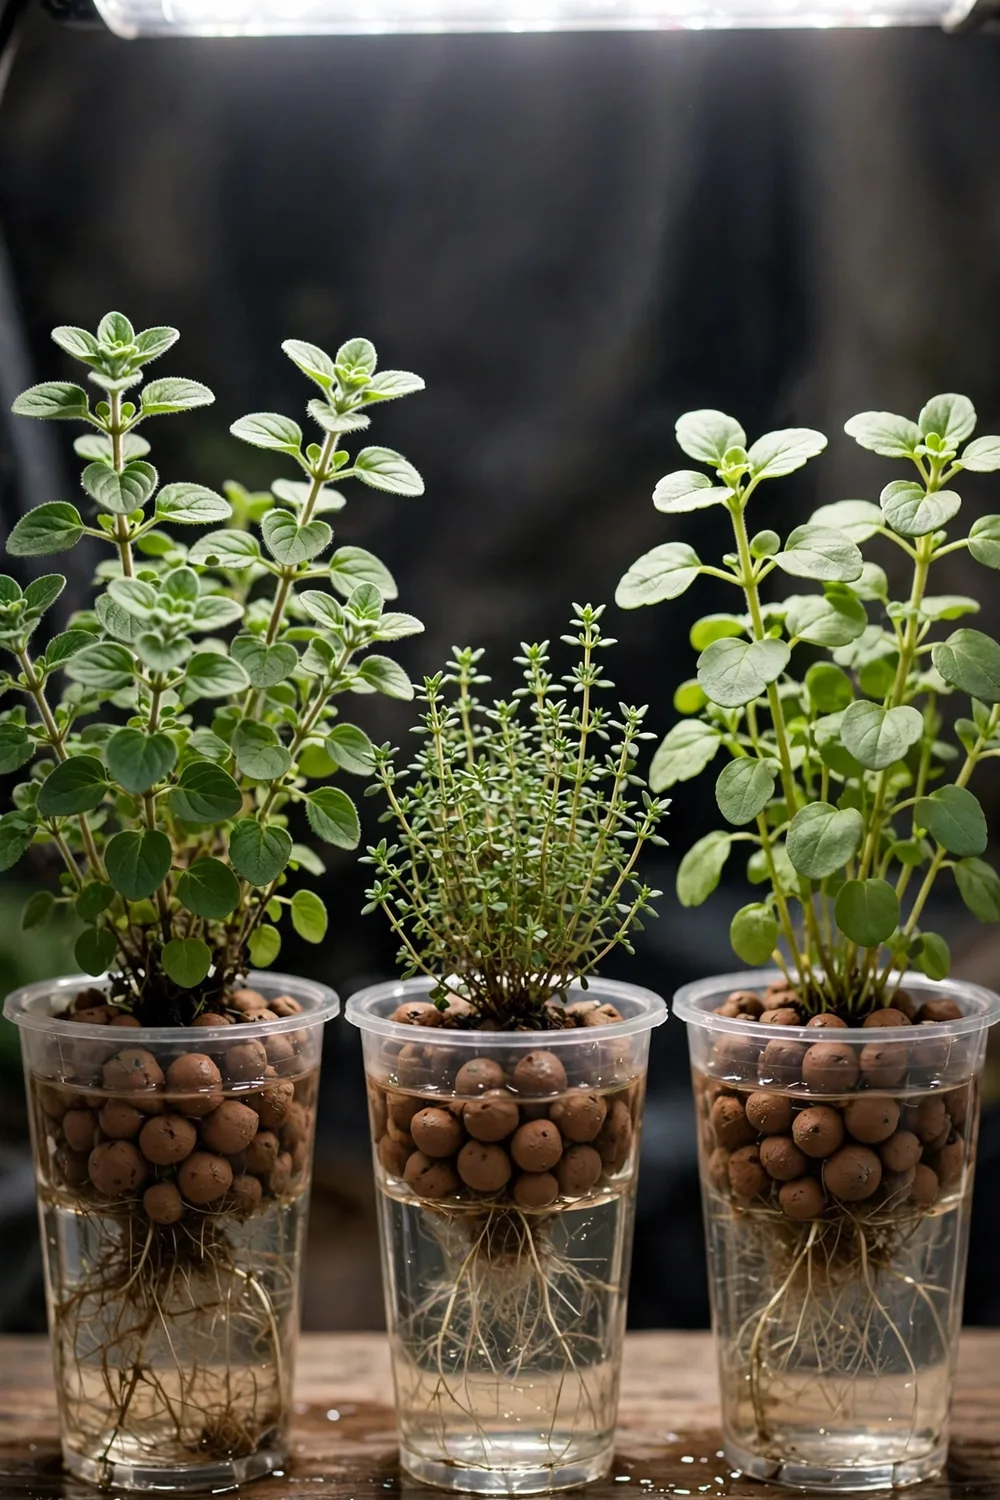
Oregano, thyme, and marjoram are the Mediterranean herbs that grow well in water, once the setup is right. They want strong light and drier roots than basil, so give them a bright spot and a lower water level. They are the advanced herbs in hydroponics, since woody stems dislike constantly wet roots. A warm greenhouse trial found these three combined good quality with strong growth.
Rosemary and sage prefer drier soil, so skip them in water and grow them in pots instead. I keep oregano in a small DWC bucket, and it flavors a whole summer of tomato dishes. Pinch thyme often, since cutting keeps it bushy. These herbs reward patience, and they last far longer than cilantro. Cilantro and chives can bolt or struggle with pests in warm water, so give them cooler water and good airflow.
13. Grow Herbs in a Wick Hydroponic Herb Garden With No Power
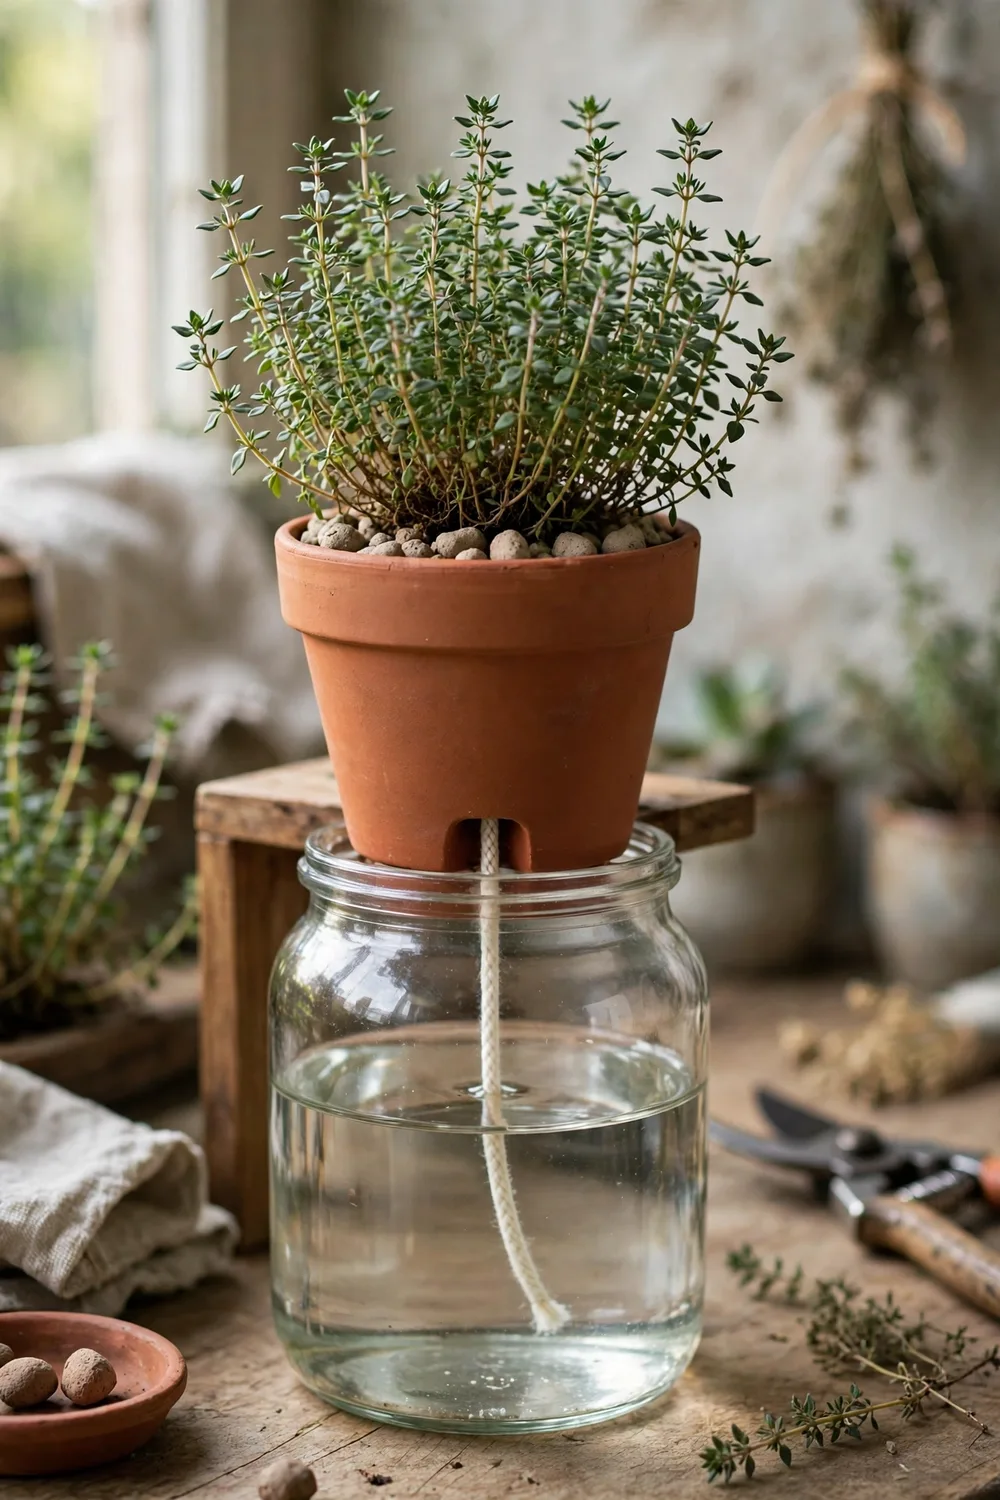
A wick system is the simplest hydroponic setup of all, and it needs no pump and no power. A cotton or nylon wick runs from a nutrient reservoir up into the growing pot, and it pulls water to the roots by itself. It suits small herbs and microgreens best, and it costs almost nothing to build.
Wick systems cannot keep up with thirsty plants, so keep them for compact herbs like thyme, oregano, and chives. I keep a wick pot of thyme on my desk, and it has run for months without a single plug. Use a short wick and a light mix, since a long wick starves the roots. If you want the easiest possible start, this is it.
14. Run a Drip Hydroponic Herb Garden for Flexible Growing
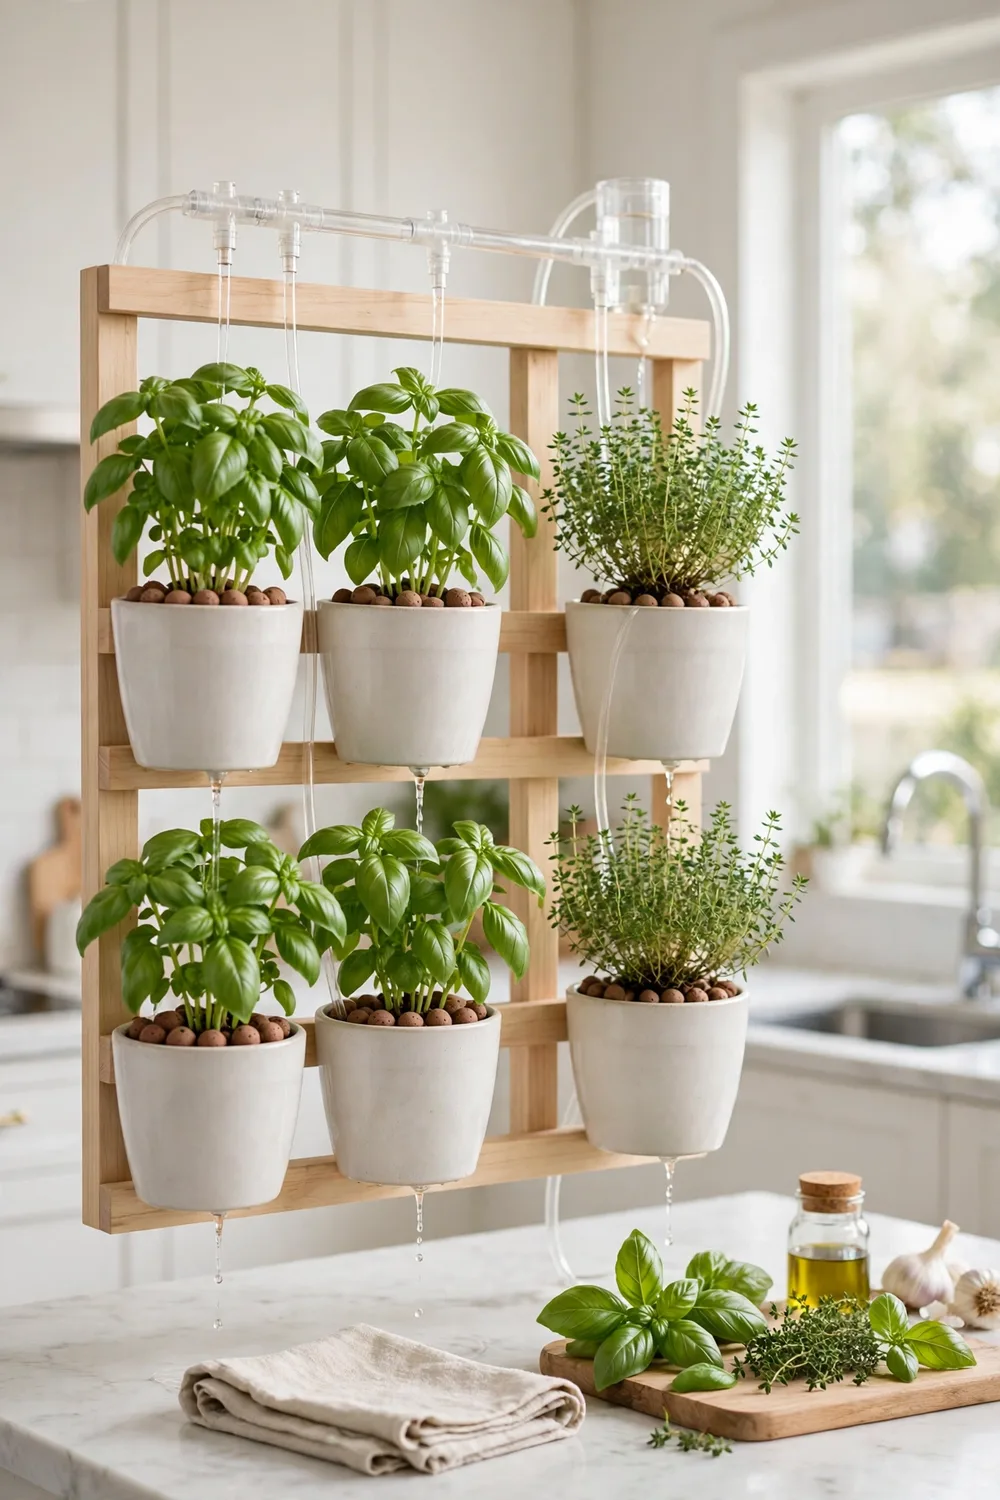
A drip system feeds each herb pot through a thin tube, so every plant gets its own measured dose of nutrient water. It is the standard next step after Kratky or DWC, since it scales from two pots to a whole shelf without a rebuild. A timer runs the pump in short bursts through the day.
Drip suits growers who want different herbs in one system, since each tube can be tuned. I run a drip line with basil on one end and thyme on the other, and each gets the water it wants. Check the emitters weekly, since a clogged tube starves one plant while the rest thrive. Keep a spare emitter or two, and the system runs itself.
15. Keep a Maintenance Routine for Your Hydroponic Herb Garden
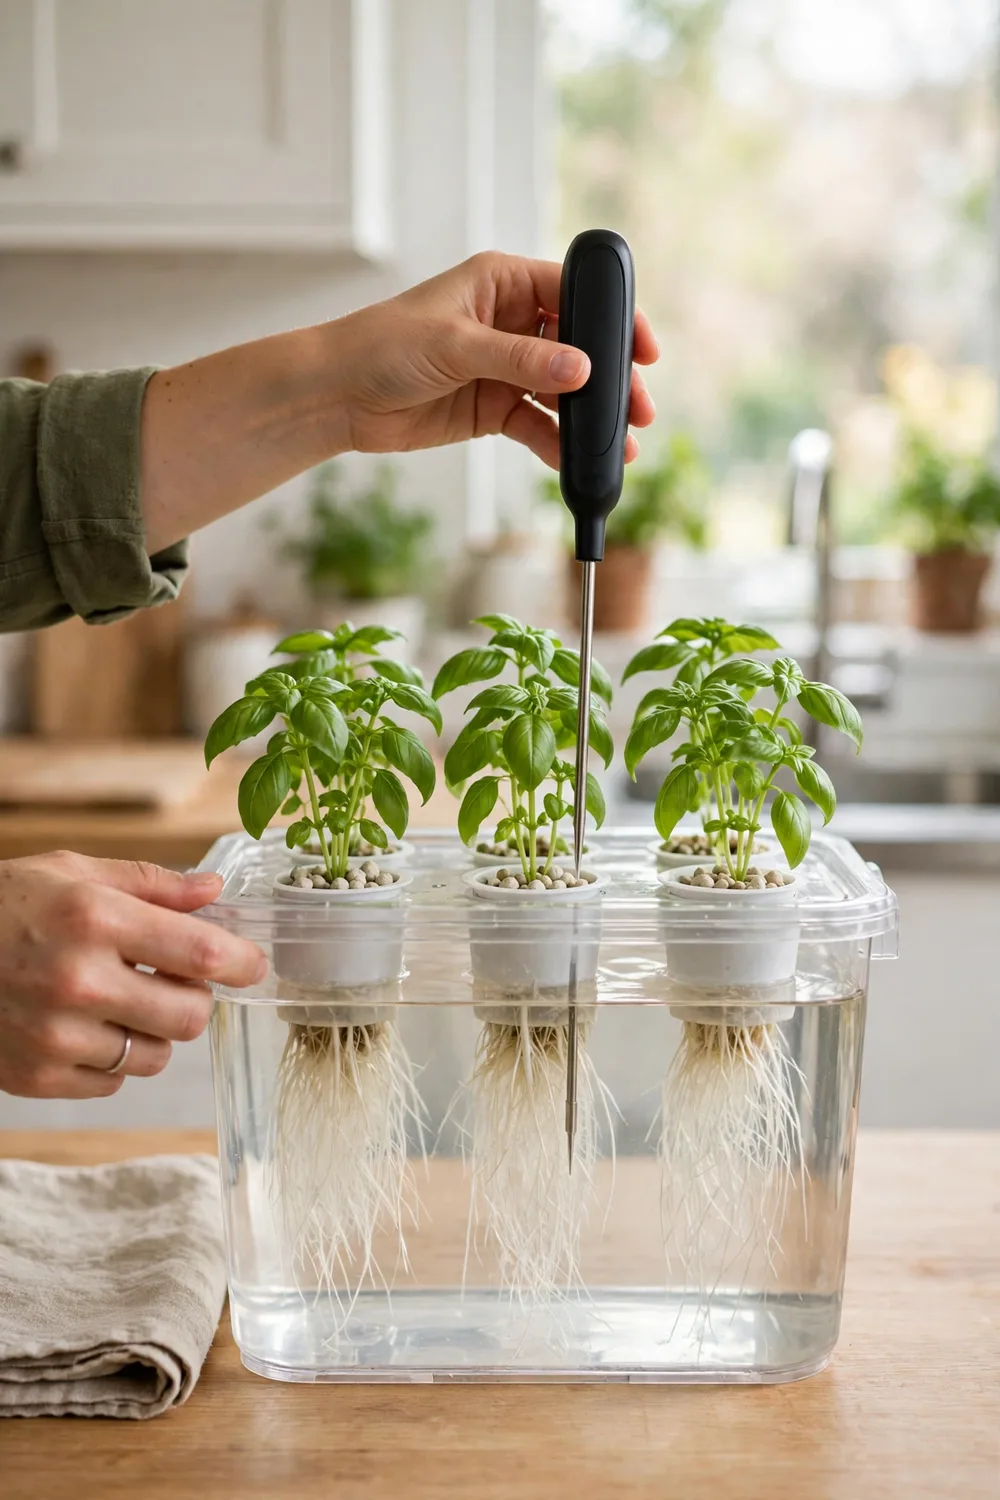
A maintenance routine costs almost nothing, and it is what keeps a hydroponic herb garden alive. Check the pH and EC once a week, top up the reservoir as the plants drink, and change the solution every 2 to 3 weeks. Drain and scrub the tank once a month, so algae never gets a foothold.
Healthy roots look white, so check them when you top up. Brown or slimy roots mean the water is stale or the pump has stopped, so drain the tank and start fresh. Keep a spare pump on hand, since roots can suffocate within hours once circulation stops. Ten minutes a week is all it takes, and the herbs will show the difference.
Conclusion
A hydroponic herb garden is not a lab project. It is a jar or a box of water that grows fresh herbs in a small kitchen all year. Start with one system from this list, learn the four basics, and add a second herb only when the first is thriving. Your kitchen will smell like basil, and your cooking will taste like it too.