17 Indoor Herb Garden Ideas for Small Spaces
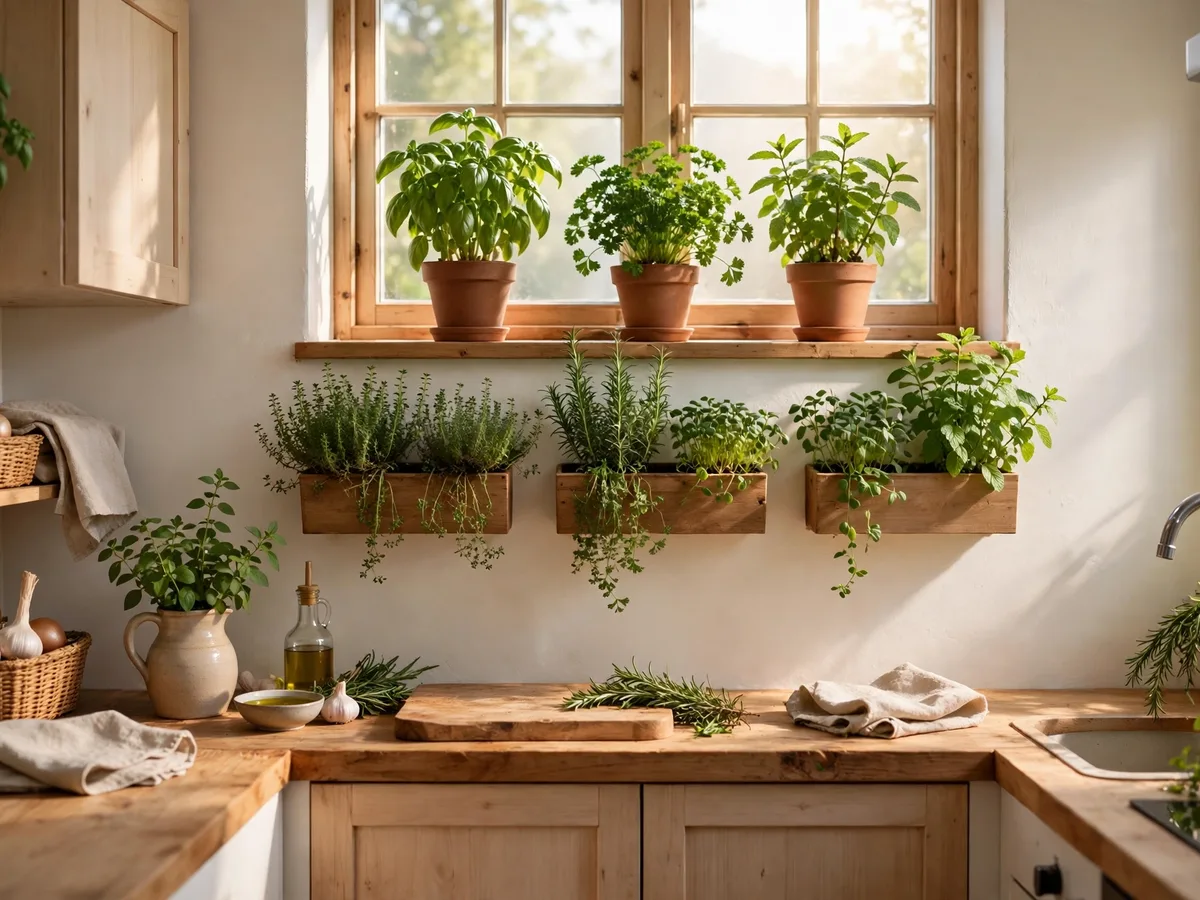
Fresh herbs change a small kitchen more than any decor buy. A row of basil, parsley, and mint on the sill puts fresh herbs within reach while you cook. The room smells green all day. These indoor herb garden ideas work in rented flats and tiny kitchens with one good window. You do not need a garden, a balcony, or much money. A few pots, a bright spot, and a simple watering habit keep herbs alive through the cold months.
This guide shows 17 indoor herb garden ideas for small spaces, from a windowsill row to hanging jars. Each idea names the setup, the herbs that suit it, and the one detail that keeps it alive. You will also find a short layout section before the ideas. It shows how to group herbs by light and water before you buy a single pot. Pick the setup that fits your kitchen, and start with three herbs you actually cook with. I want help choosing which herbs to plant first, see our guide to the best herbs for small spaces.
How to Lay Out Your Indoor Herb Garden
Lay out your herb garden before you buy a single pot, and the herbs will last longer. Start with the window: a south or west window is the jackpot, since most herbs want 6 or more hours of direct sun a day. An east window suits mint, parsley, and chives, which cope with softer light. A north window grows almost nothing except mint and chives, so add a grow light there.
Group herbs by light first: basil, rosemary, and thyme want the sunniest spot, while mint and parsley cope with softer light. Then group them by water: leafy herbs like basil and parsley want steady moisture, while Mediterranean herbs want dry soil between waterings.
Put tall herbs at the back, so they never shade the short ones. Give mint its own pot, since it spreads fast and will crowd everything else. I learned this the hard way when one mint plant took over a whole window box in a single summer. Leave a little space between pots, so air moves freely and leaves dry after watering.
Use a light mix that drains fast: two parts compost and coco coir with perlite and vermiculite, near pH 6 to 7. Match the pot to the herb: parsley needs a deep pot for its taproot, and mint needs a 10 to 12 inch pot of its own. Keep the room between 65 and 75 degrees, and start from seed if you have patience: basil and chives sprout in a week or two, while parsley takes longer.
1. Line the Windowsill With a Kitchen Herb Garden Row
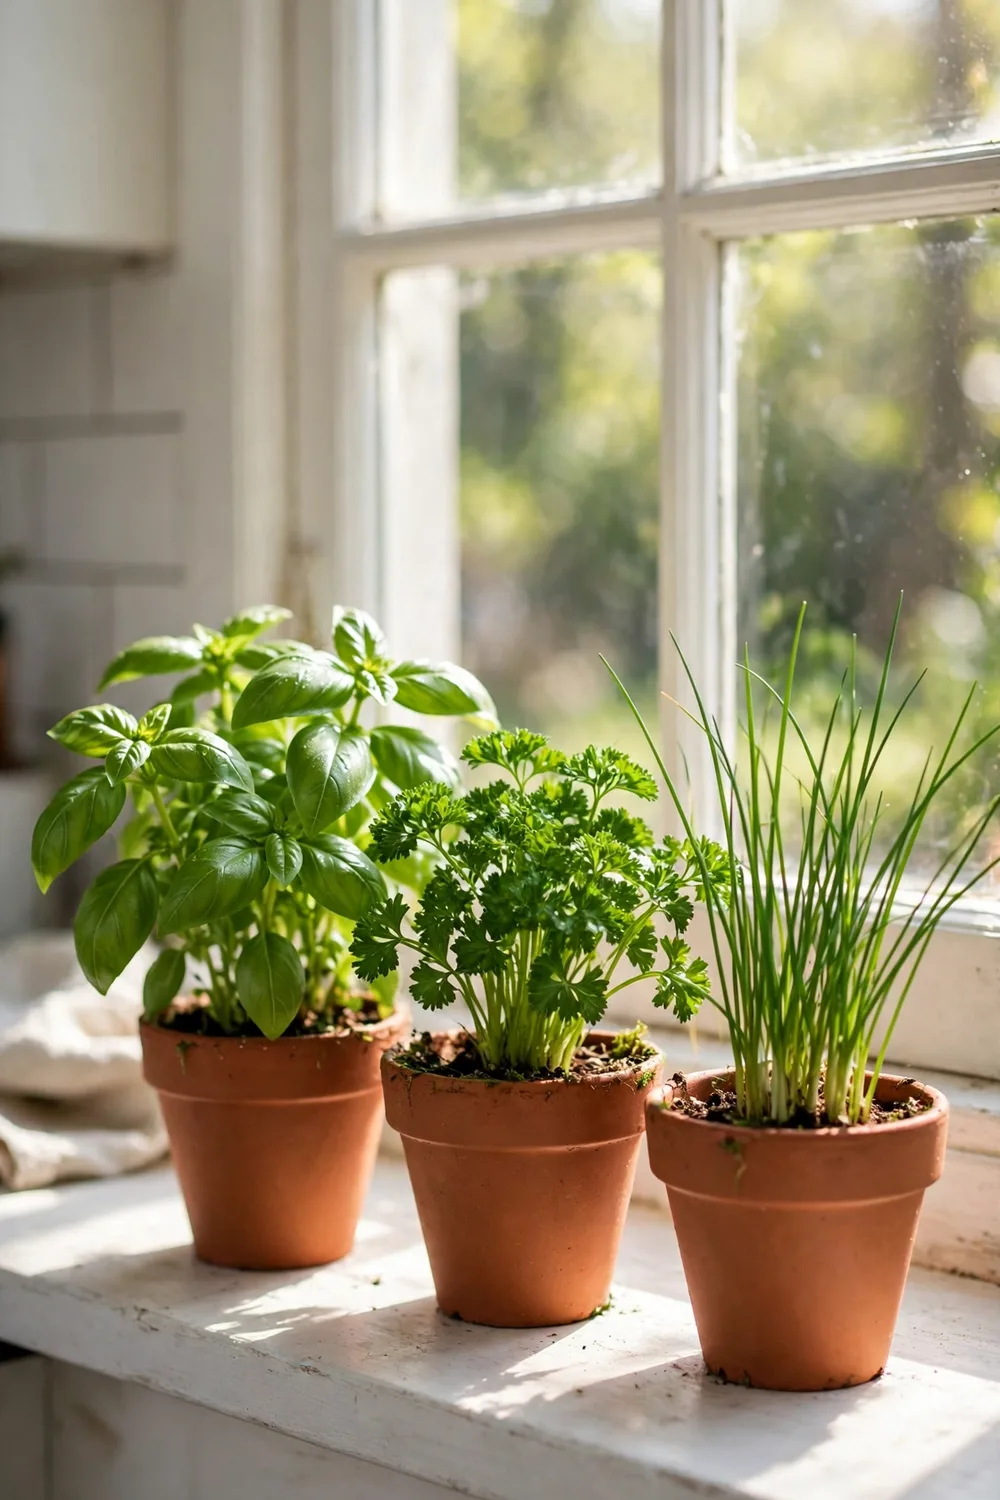
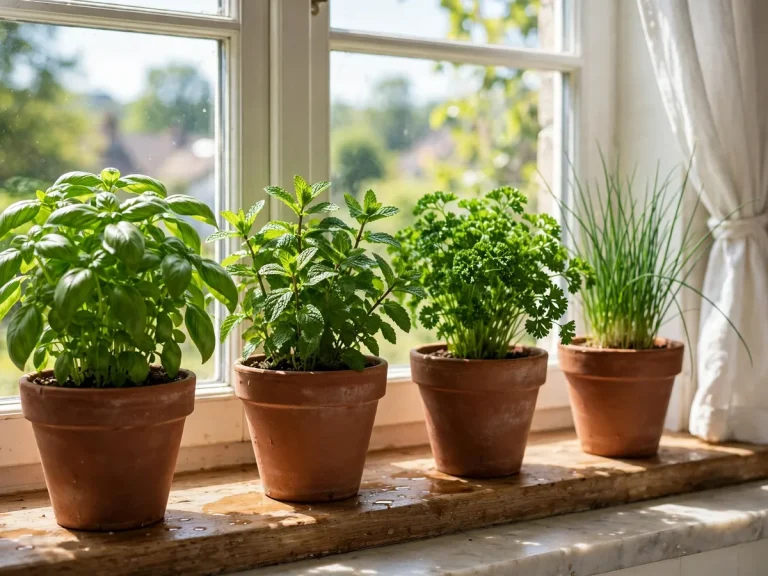
A windowsill row is the easiest herb garden to start, and it costs almost nothing. Set three or four small pots in a line on your brightest kitchen sill. Put basil nearest the glass, since it wants the most sun. Parsley and chives can sit behind it, where the light is softer. Water only when the top inch of soil feels dry, and turn the pots once a week so the stems grow straight.
I keep basil, parsley, and chives on my own kitchen sill, and they cover most of my cooking. The row works because the herbs sit where I chop, so I actually use them instead of forgetting them. The same small apartment plant decor rule applies here: one strong green line per room beats pots scattered on every surface. Start with three herbs you cook with weekly, and add a fourth only when the row stays alive for a month.
2. Keep Three Pots on the Kitchen Counter
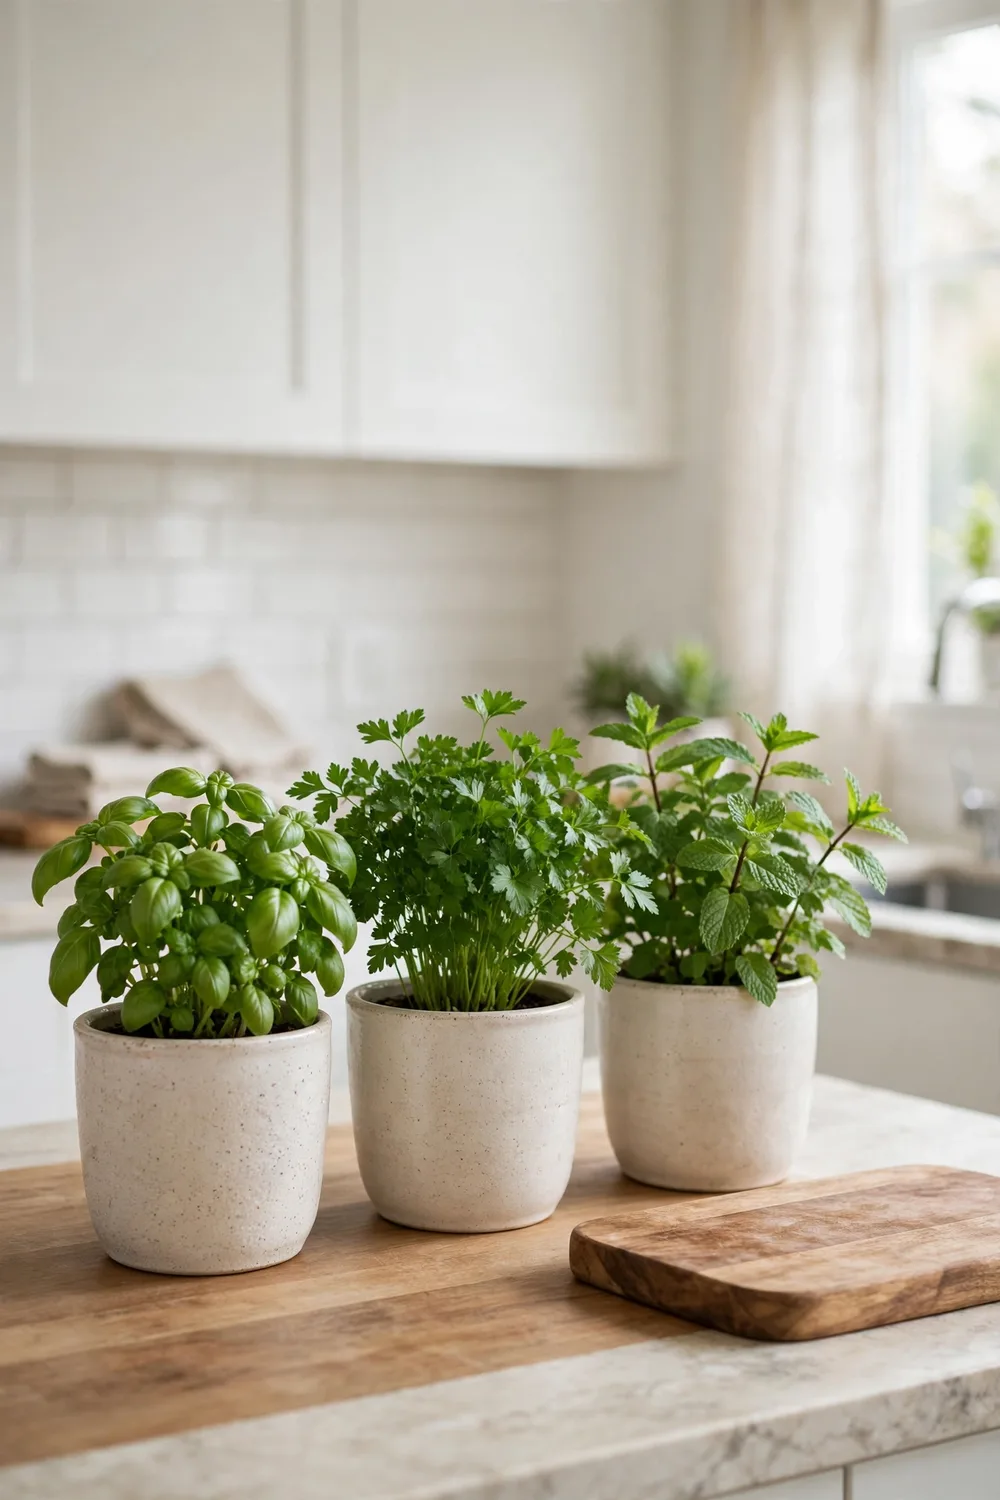
A countertop herb garden keeps fresh flavor within reach of the stove. Choose three pots you like, fill them with basil, parsley, and mint, and set them in a row near the chopping board. Mint needs its own pot, since it spreads fast and will crowd the others. Use pots with drainage holes and small saucers, so water never pools on the counter.
I cook with this trio almost every day, and three pots are enough for a small household. Basil goes into pasta and salads, parsley finishes soups and grain bowls, and mint goes into tea. Snip from the top of each plant, just above a pair of leaves, and the plant will branch out below the cut. Harvest little and often, and never take more than a third of a plant at once.
3. Mount a Wall Herb Garden Beside the Sink
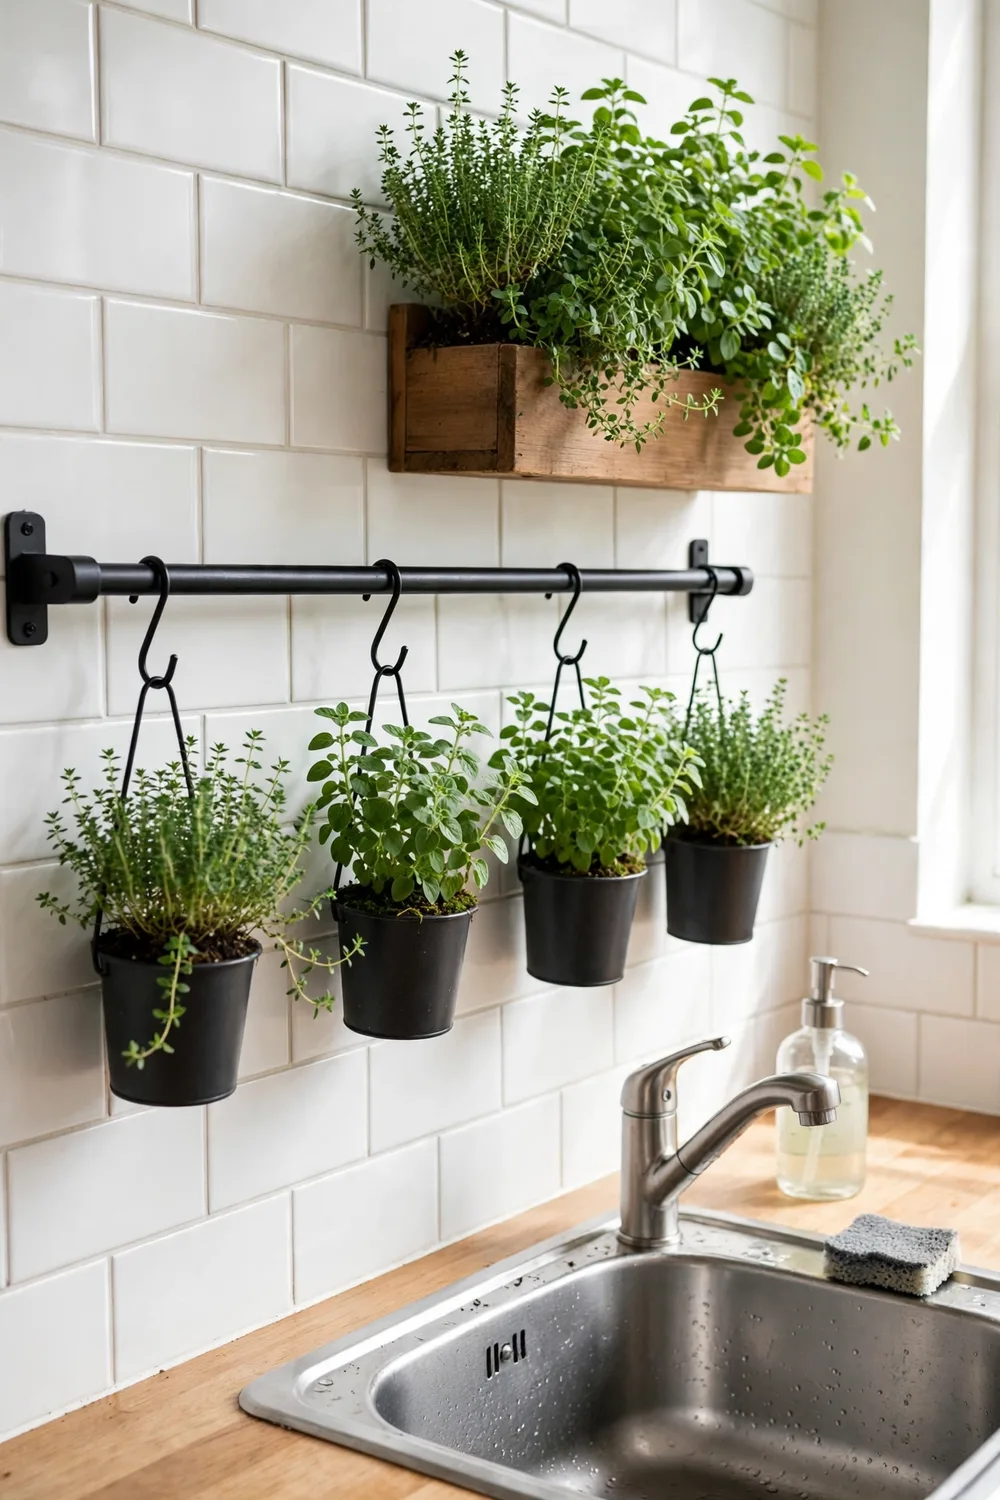
A wall herb garden turns an empty kitchen wall into a working garden. Mount a rail with hanging pots, or fix small planters in a row beside the sink, where water is close at hand. Herbs on a wall get good light if the wall stands beside a window, and they stay off the counter. Keep the planters light, since wall hooks hold less weight than a shelf.
I mounted a short rail beside my own sink, and it holds four small pots without crowding the wall. Thyme and oregano do best up high, since they like dry soil and bright light. Water with a small jug, and empty any saucers after, so drips never reach the floor. A wall garden also keeps herbs away from curious pets, which matters in a small flat.
4. Hang a Herb Garden in Macrame Planters
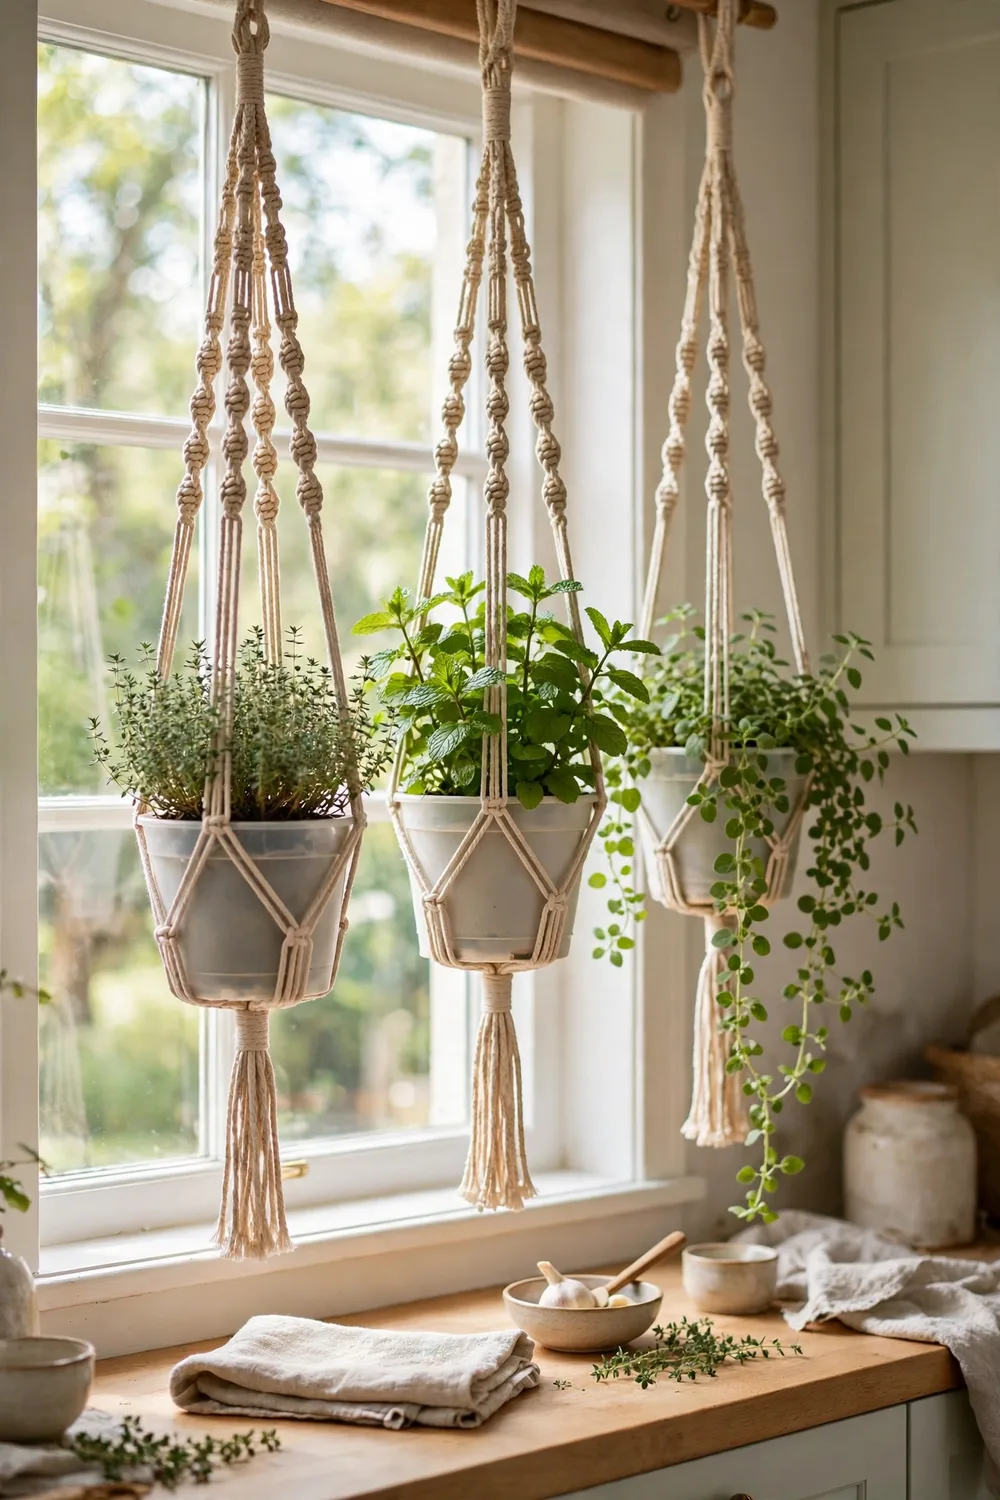
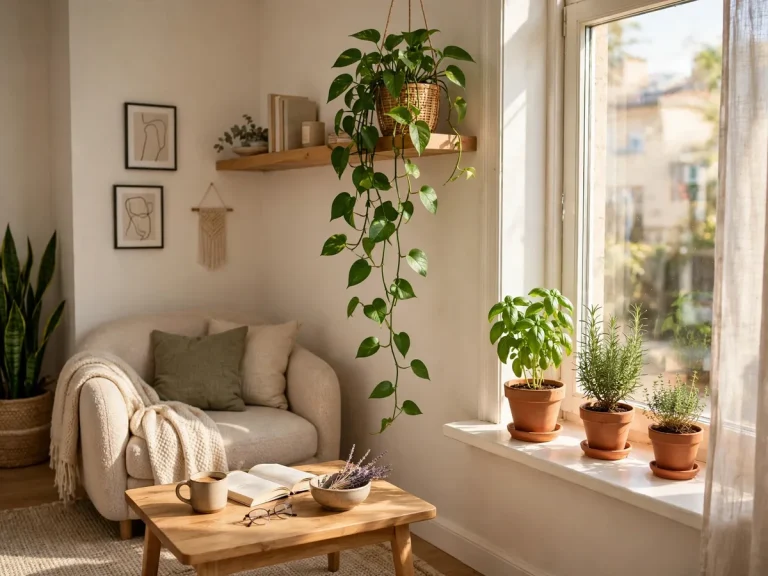
Macrame planters hang herbs in the air, where they catch light and stay out of the way. Hang two or three by a bright window, and plant thyme, mint, and trailing oregano in them. Hanging pots dry out faster than pots on a sill, so check the soil every two days. A small spray bottle helps, since it waters without drips.
I hung my first macrame planter beside the kitchen window, and the mint inside grew faster than any pot on the sill. The secret is placement: hang the planter close to the window, where light is strongest, and low enough to reach for watering. Use light plastic pots inside the macrame, since heavy ceramic pots strain the hooks. When a plant outgrows its hanger, move it to a shelf and start a fresh cutting.
5. Stack a Tiered Shelf Herb Garden in a Sunny Corner
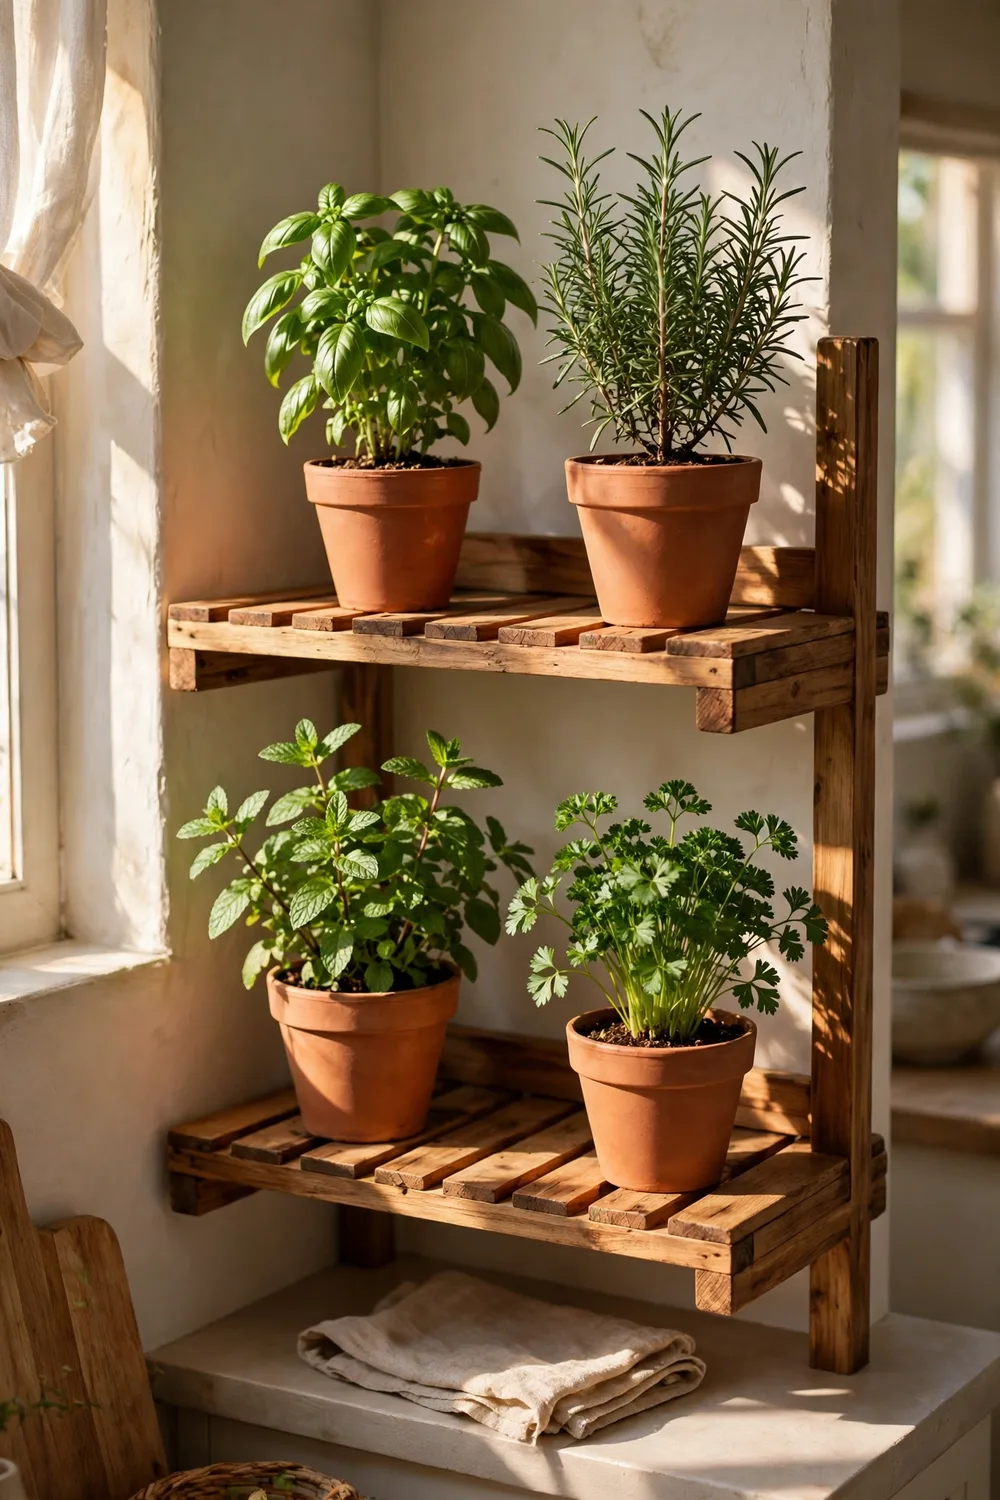
A tiered shelf holds six or more herbs in one square foot of floor. Put the shelf in your sunniest corner, and place sun lovers like basil and rosemary on the top level. Mint and parsley can sit lower, where the light is softer. Add a small grow light on the top shelf if the corner gets less than four hours of sun.
I run a three level shelf in my spare corner, with herbs on top and seedlings in the middle. Start with plant shelf ideas if you already own the shelves, then add the herbs and a light. Water the top level first, since drips fall to the plants below, and wipe the shelves weekly so the wood stays dry.
6. Grow a Mason Jar Herb Garden on a Wooden Shelf
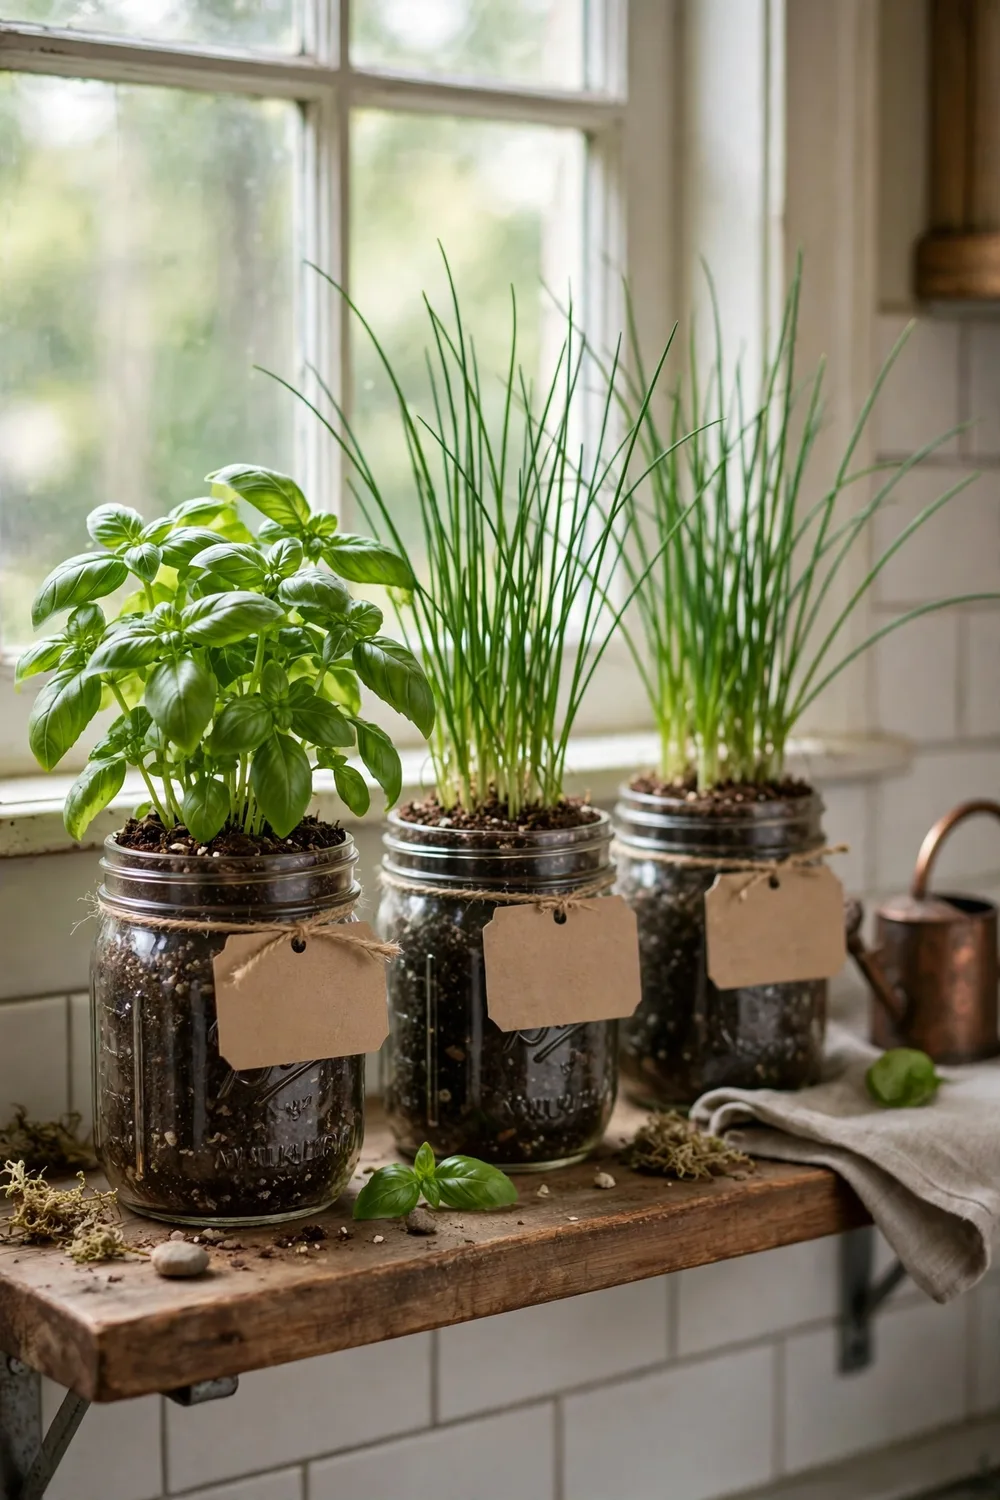
Mason jars make a charming herb garden, and they cost almost nothing to set up. Fill each jar with potting mix, plant one herb per jar, and line them up on a wooden shelf near a window. Jars have no drainage holes, and pebbles at the bottom do not fix that, so water very lightly and only when the top inch of soil feels dry.
I started my first herb garden in mason jars, and the row still sits on my kitchen shelf. Basil and chives do best in jars, since they like steady moisture and forgive a missed watering. Mint will fill a jar fast, so give it the widest jar you own. Label each jar with the herb name, and the shelf looks as good as it tastes.
7. Turn a Blank Wall Into a Vertical Herb Garden
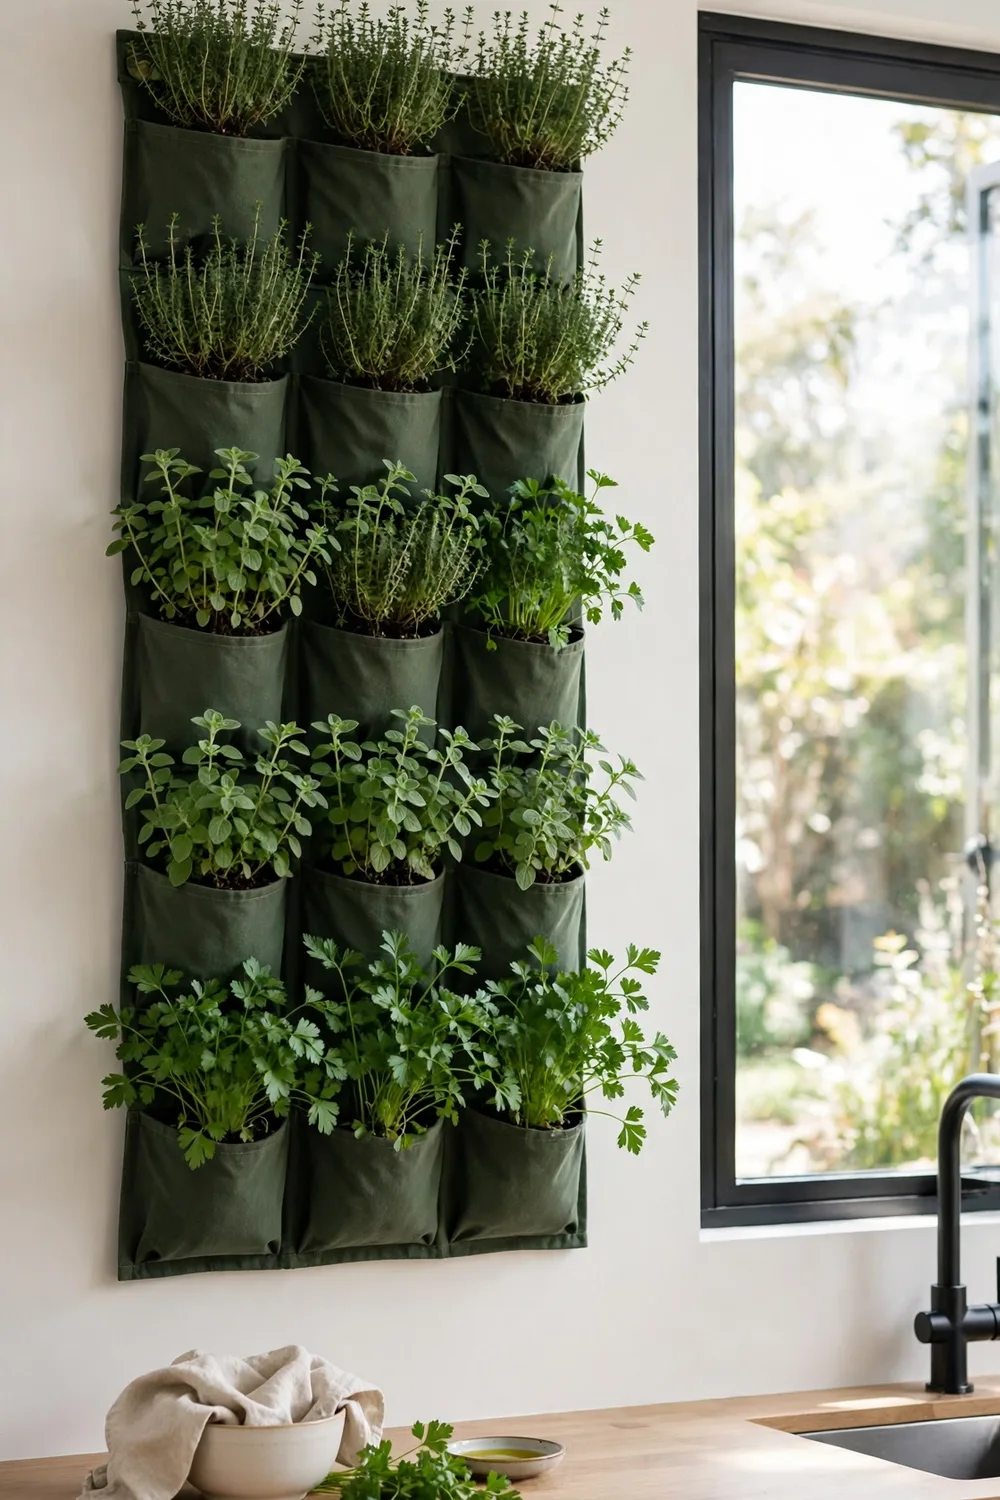
A vertical herb garden grows up, not out, so it fits kitchens with no spare counter. Fix a pocket planter, a slatted panel, or a row of small pots to a blank wall near a window. Plant thyme, oregano, and parsley at the top, where the light is strongest. Water from the top down, since the upper pots drain into the lower ones.
I turned the blank wall beside my fridge into a vertical garden, and it holds eight herbs in less than a foot of depth. Check the wall fixings first, since a full row of wet pots is heavier than it looks. Use light pots and a drip tray at the bottom, and the wall stays clean. A vertical garden also keeps herbs at eye level, so you see them every time you cook.
8. Try a Countertop Hydroponic Herb Garden Kit
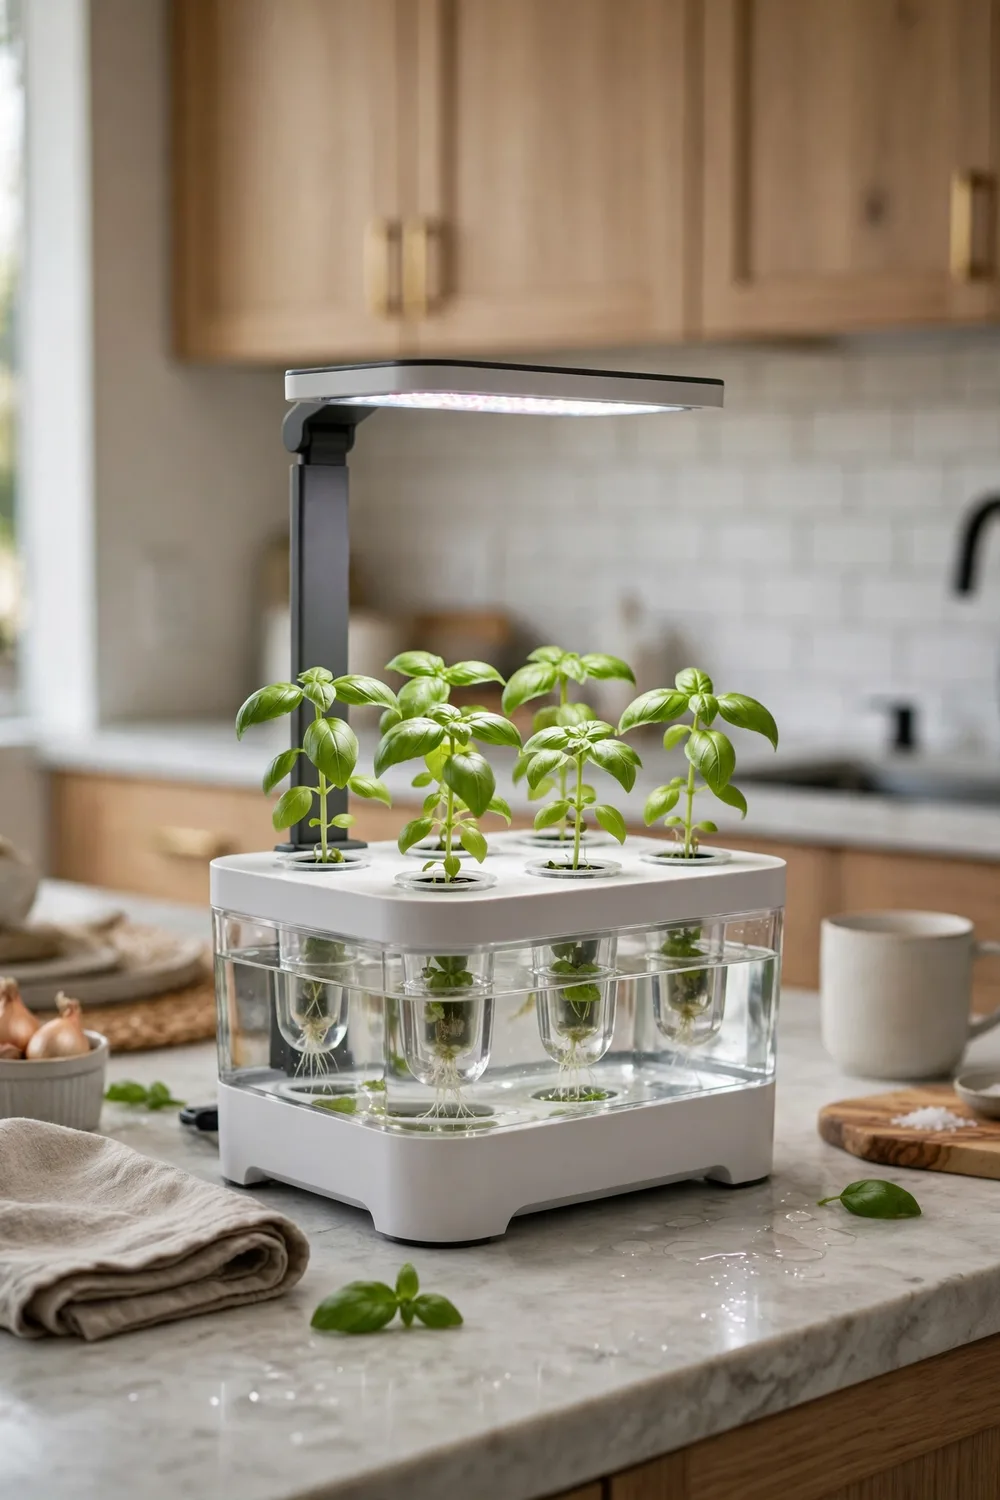
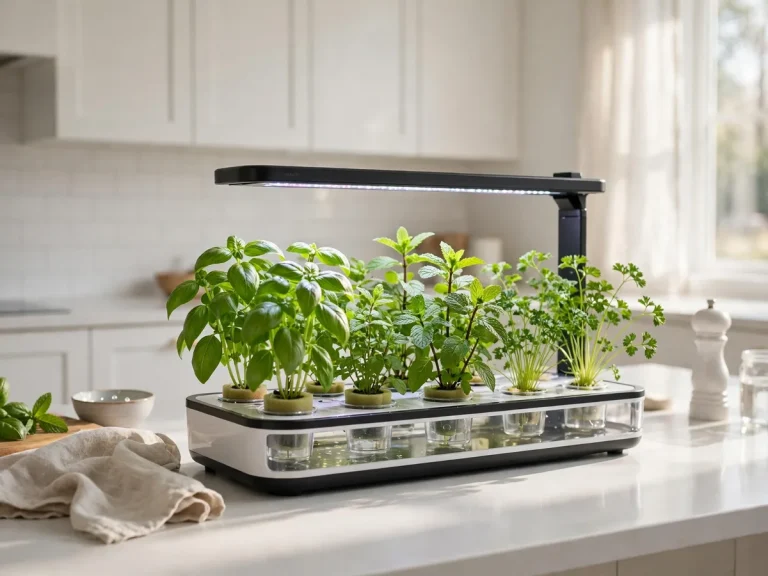
A countertop hydroponic kit grows herbs in water, with no soil at all. The kit holds a small tank, a pump, and a built-in LED light, so it works on a counter with no window nearby. Basil grows fastest in these kits, and parsley and chives follow close behind. Top up the tank weekly, and harvest little and often, so the plants stay bushy.
I tested a small kit on my counter last year, and the basil inside grew faster than any soil pot I own. A hydroponic kit is a small cousin of indoor greenhouse ideas: the same warm, bright box, only with water instead of soil. Keep the water fresh and the light on a timer, and the kit needs less care than soil pots. Start with one kit before you buy a second, and see if the habit sticks.
9. Fill a Window Box With a Mediterranean Trio
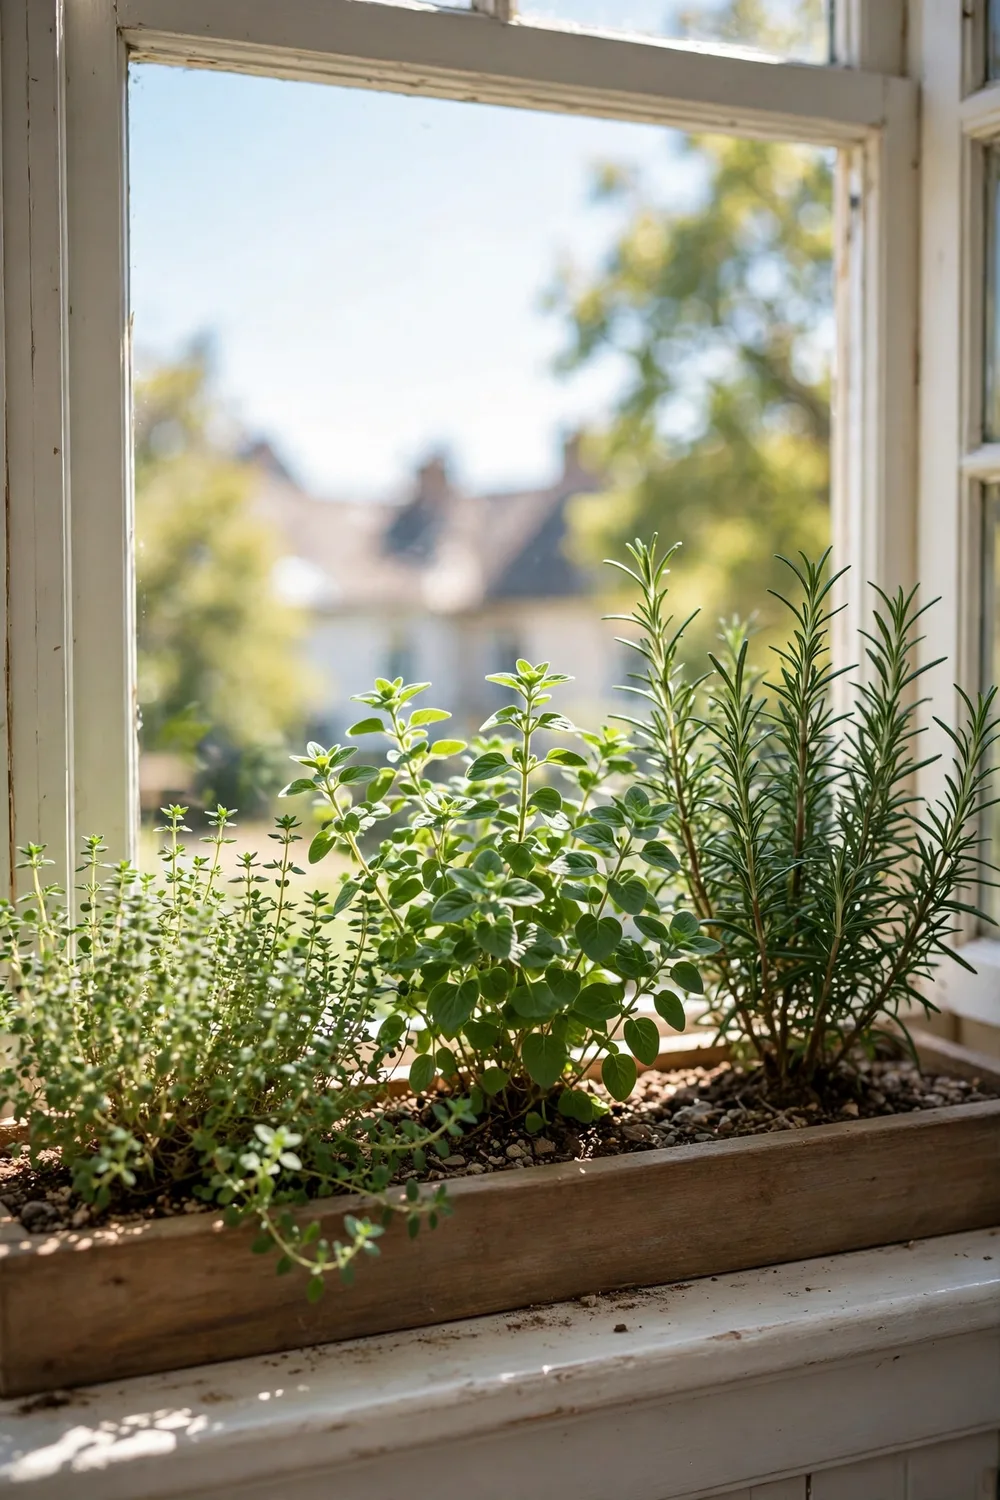
A window box holds three herbs in one long planter, and it fits sills that are too narrow for separate pots. Fill it with thyme, oregano, and rosemary, since all three share a love of full sun and dry soil. Drill drainage holes in the base, and set the box on a tray, so water never marks the sill. Turn the box weekly, so all sides get light.
I grow my Mediterranean trio in a window box, and one box seasons roast dinners for months. Rosemary wants the sunniest end, while thyme and oregano fill the middle and the far end. Water only when the soil feels dry two inches down, since these three hate wet feet. When a plant outgrows the box, move it to a bigger pot and start a fresh one.
10. Grow Herbs in a Self-Watering Planter
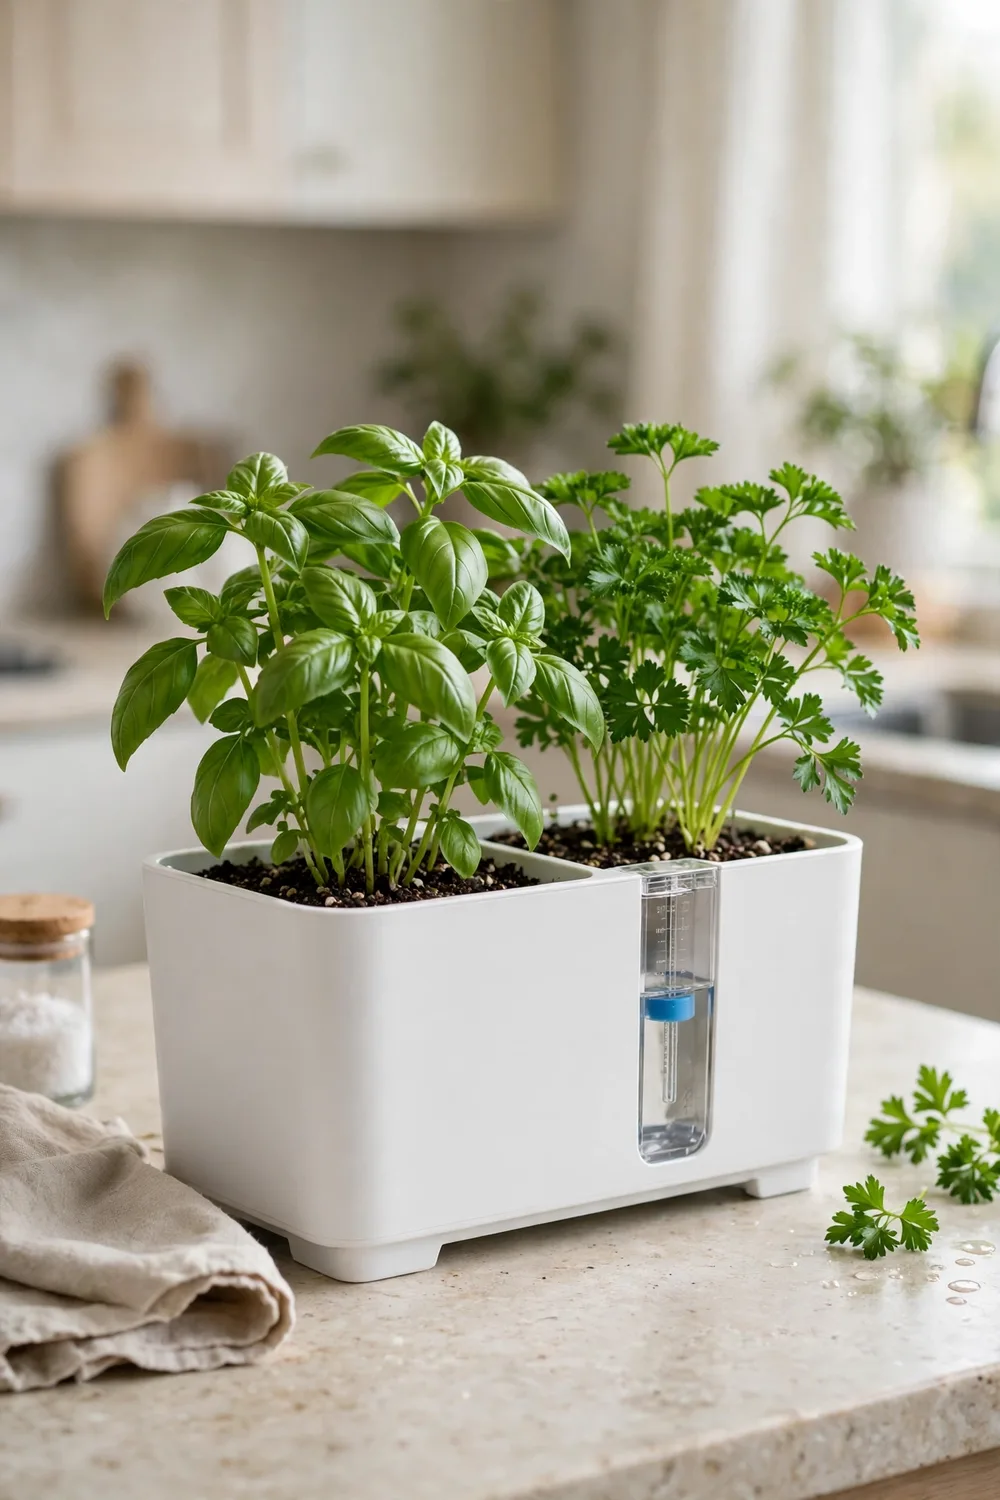
A self-watering planter solves the number one killer of indoor herbs: inconsistent watering. A reservoir under the soil feeds the roots through a wick, so the plants drink when they need it. One fill lasts one to three weeks, which makes it the best setup for travellers and forgetful waterers.
Basil and parsley suit it best, since they like steady moisture. I keep a self-watering planter on my counter for basil, and it has never dried out on a trip. Use a light, fast draining mix, and check the reservoir weekly. Skip self-watering for Mediterranean herbs, since rosemary and thyme want dry soil between waterings.
11. Roll a Herb Garden Cart Wherever the Light Goes
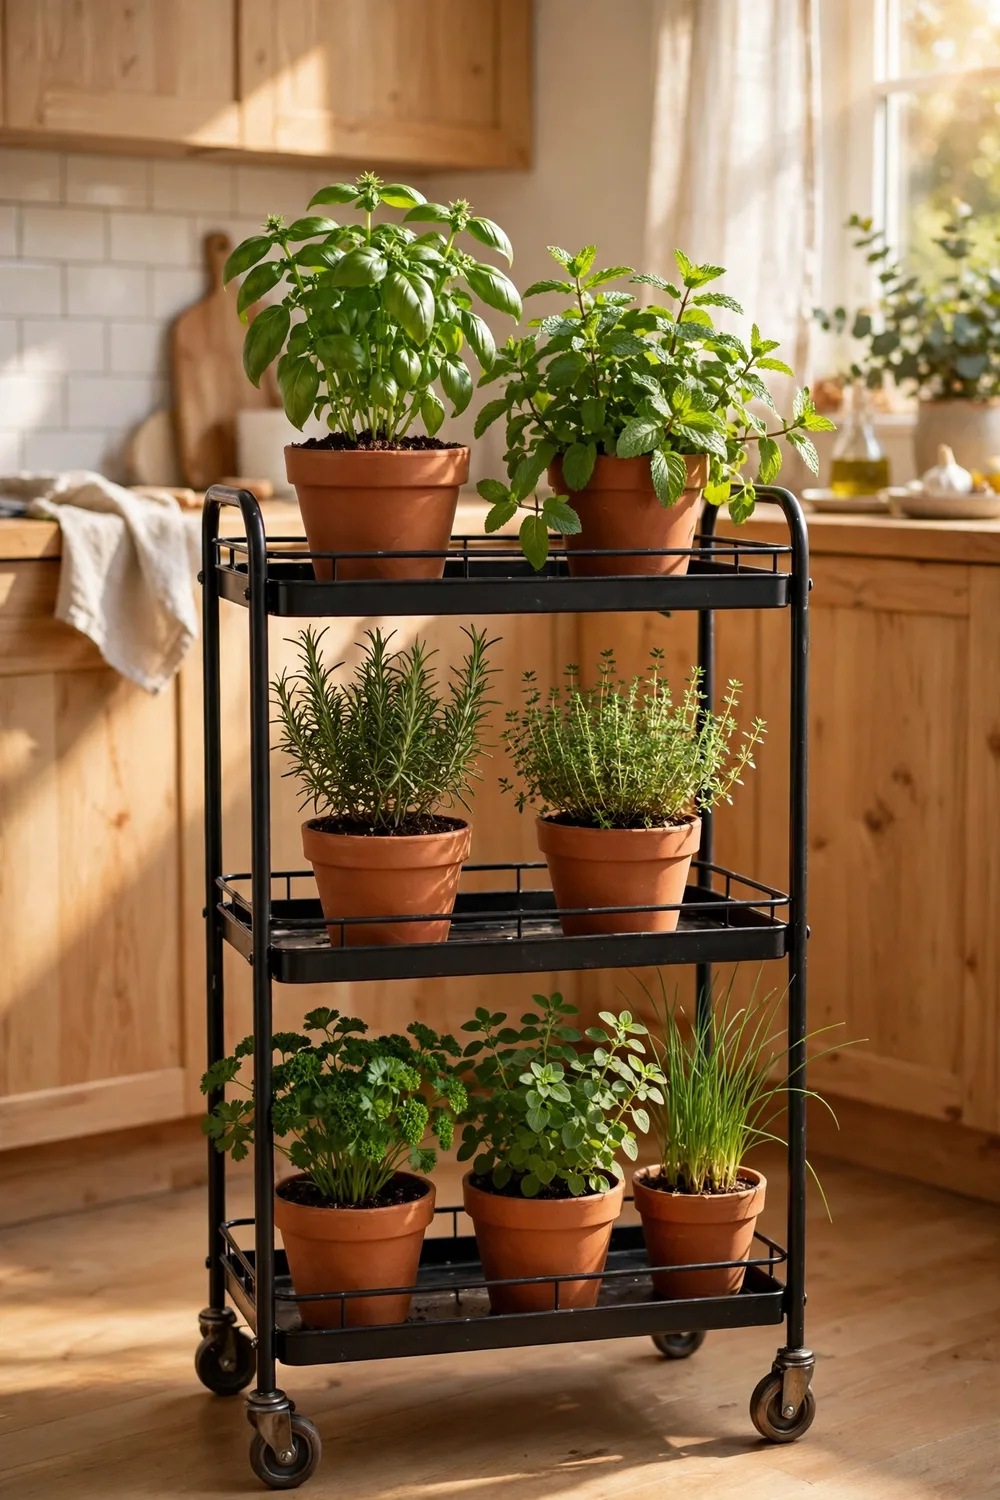
A rolling cart is a herb garden on wheels, and it solves the one-window problem. Load it with pots in the morning, roll it to the brightest spot, and roll it back at night. A two or three tier cart holds six to eight pots, and the top tier gets the most light. Choose a cart with a handle, since a full cart is heavy to push.
I use a small cart for my overflow herbs, and it moves from the kitchen to the living room as the sun shifts. A rolling cart works like a corner plant stand on wheels: it holds the tall herbs and moves where the light goes. Park it near the stove while you cook, so the herbs are within reach. Lock the wheels before you water, so the cart never rolls mid-pour.
12. Float a Shelf Above the Sink With a Light Underneath
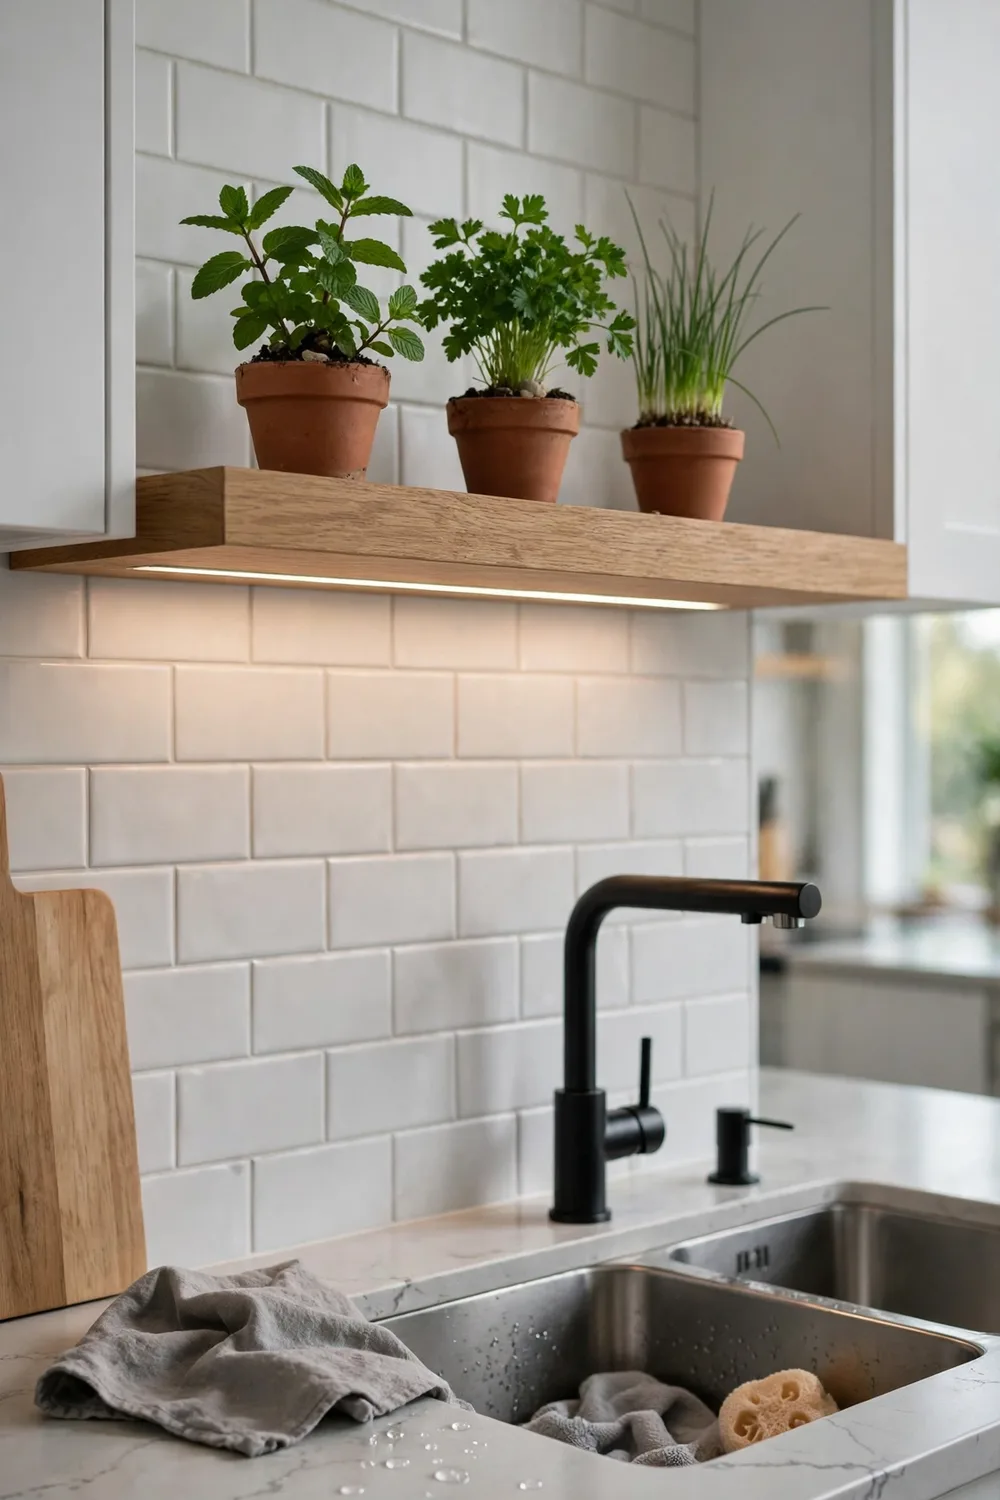
A floating shelf above the sink holds herbs where water is close at hand, and a slim LED strip underneath gives them light even in a dark kitchen. Fix the shelf 18 to 24 inches above the basin, and mount the light 6 to 12 inches above the leaves on a timer for 14 to 16 hours a day. The shelf suits small pots of mint, parsley, and chives.
I fixed a floating shelf above my own sink, and it is the herb spot I use most, since the water is right there. The mint on the shelf grows fast, and the chives regrow within days of a snip. Use rust-proof hardware and a moisture-resistant board, since the shelf sits over steam. Wipe it after watering, and the wood will last for years.
13. Grow a Tin Can Herb Garden on a Narrow Ledge
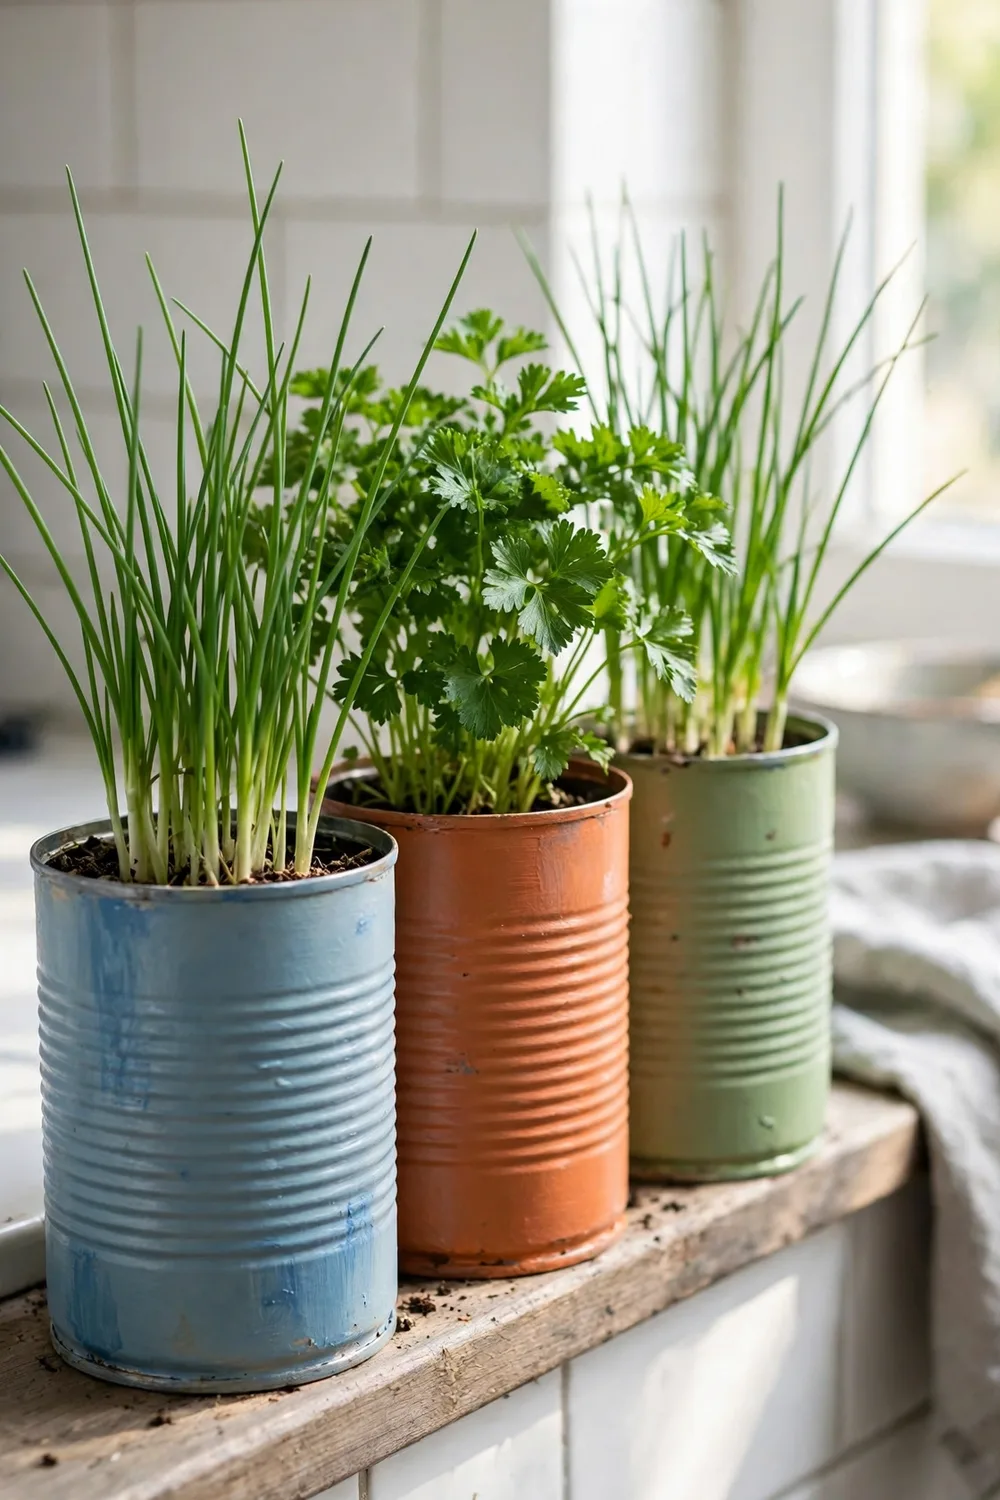
Tin cans make a free herb garden, and they fit ledges too narrow for shop-bought pots. Wash out food cans, punch drainage holes in the base, and paint the outside to match your kitchen. Plant one herb per can, and line them along a narrow sill or a shelf edge. Chives and parsley suit cans best, since they stay compact and forgive small pots.
I made a row of tin can planters from cans I already had, and they now hold my chives and parsley. The cans heat up in direct sun, so keep them back from the glass on hot afternoons. Water little and often, since a small can dries out fast. When a can rusts, swap it for a fresh one, and the garden costs nothing to keep going.
14. Build a Herb Garden Tower From Stacked Pots
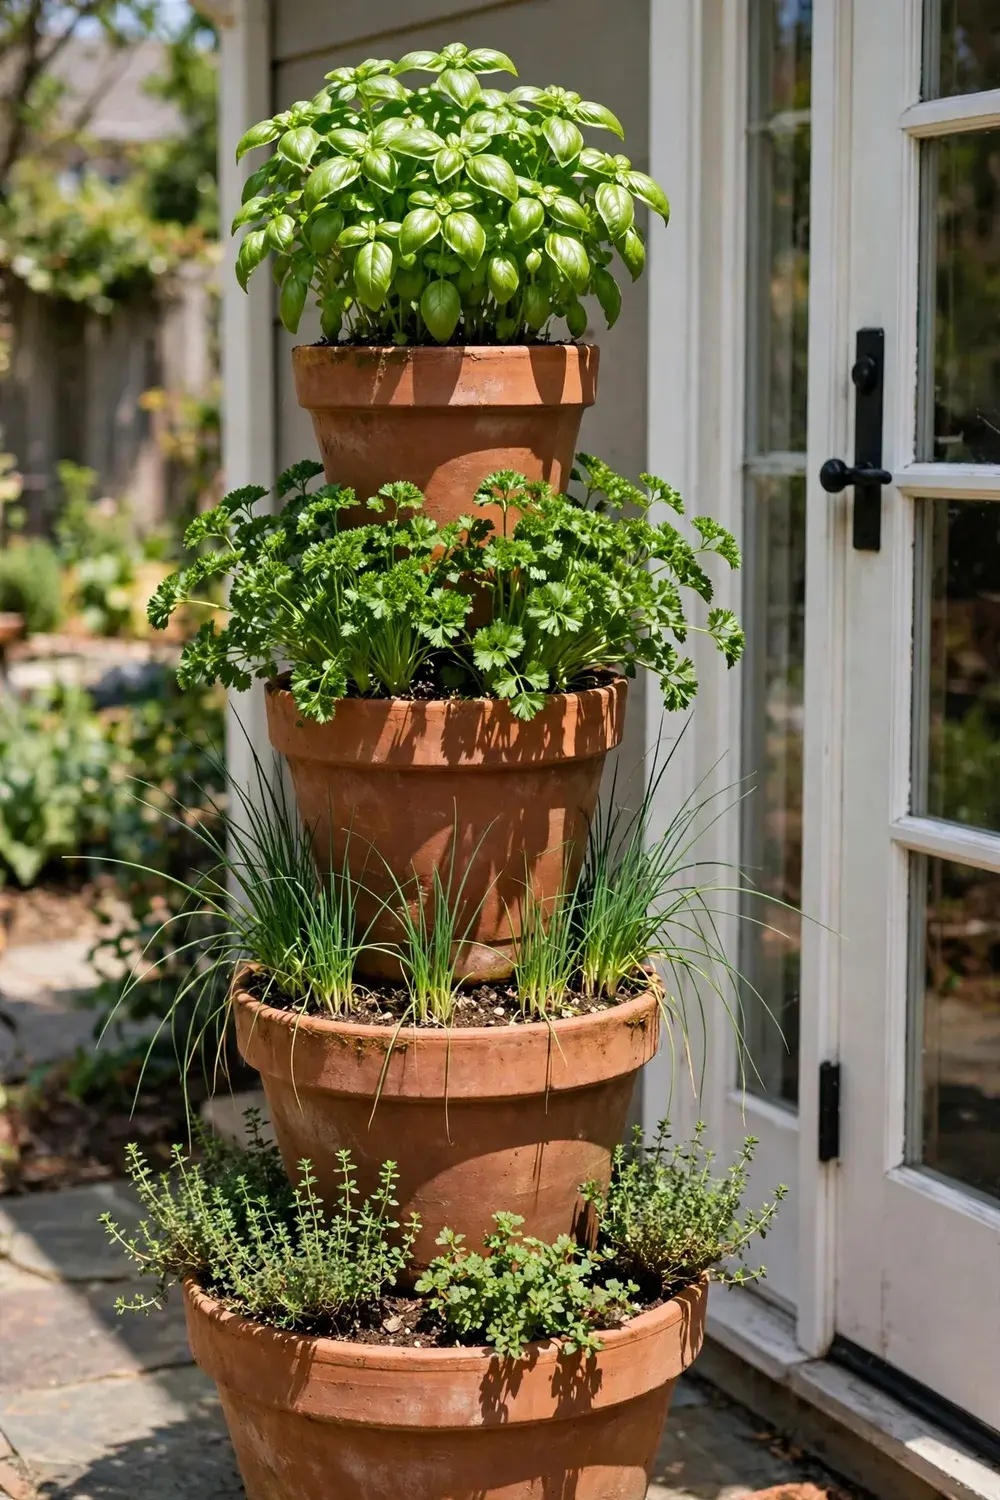
A herb tower stacks pots in a spiral, so eight or more herbs grow in one footprint. Thread large pots onto a central rod, or stack them in a pyramid, and plant a different herb in each level. Basil goes at the top, where it gets the most sun, while parsley, chives, and thyme fill the lower levels. Keep mint out of the tower, since it spreads fast and would invade every level. Water from the top, and let the drips feed the pots below.
I built a tower from old terracotta pots last spring, and it now holds eight herbs beside my back door. Terracotta suits a tower best, since the pots grip each other and the clay breathes. Turn the tower a quarter turn each week, so every side gets sun. When one herb finishes, pull it out and plant a fresh one in its place.
15. Keep a Herb Cutting Station in Glasses of Water
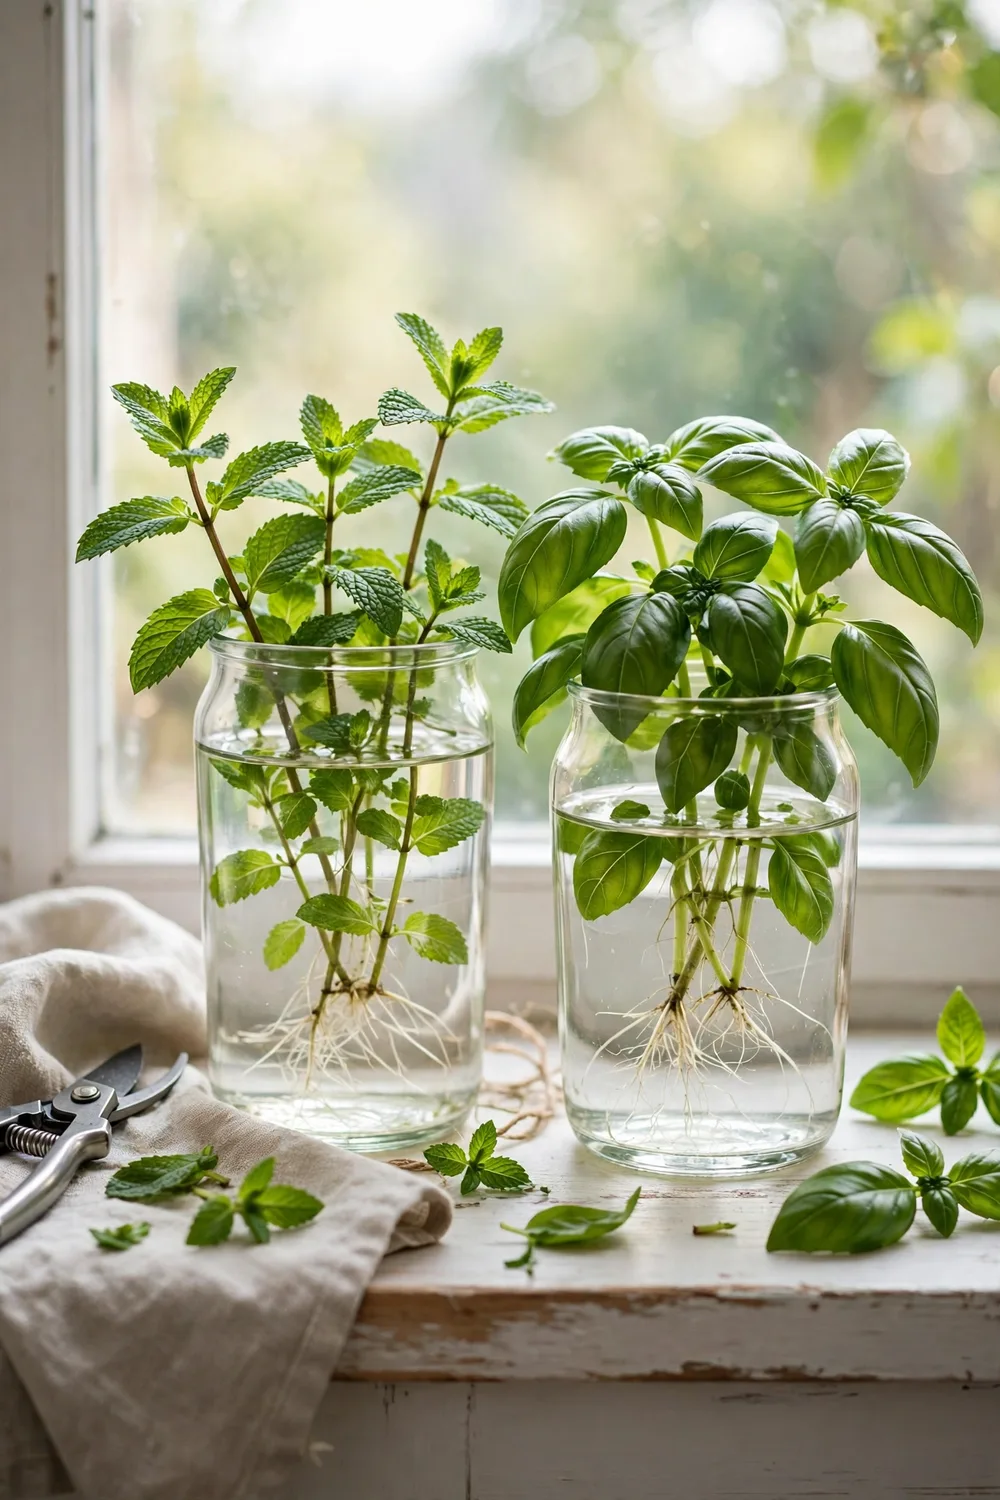
A cutting station grows new herbs from old ones, and it needs no soil at all. Snip a healthy stem from basil or mint, strip the lower leaves, and set the stem in a glass of water on a bright sill. Roots appear in one to two weeks, and then you can pot the cutting up. Change the water every few days, so it stays fresh and clear.
I keep three glasses on my windowsill, and they give me free plants all year. Basil roots fastest, usually within a week or two, while mint follows close behind. Snip cuttings in the morning, when the stems hold the most water. Once roots reach two inches, move the cutting to soil, and water it well for the first week.
16. Set a Dining Table Herb Garden as a Centerpiece
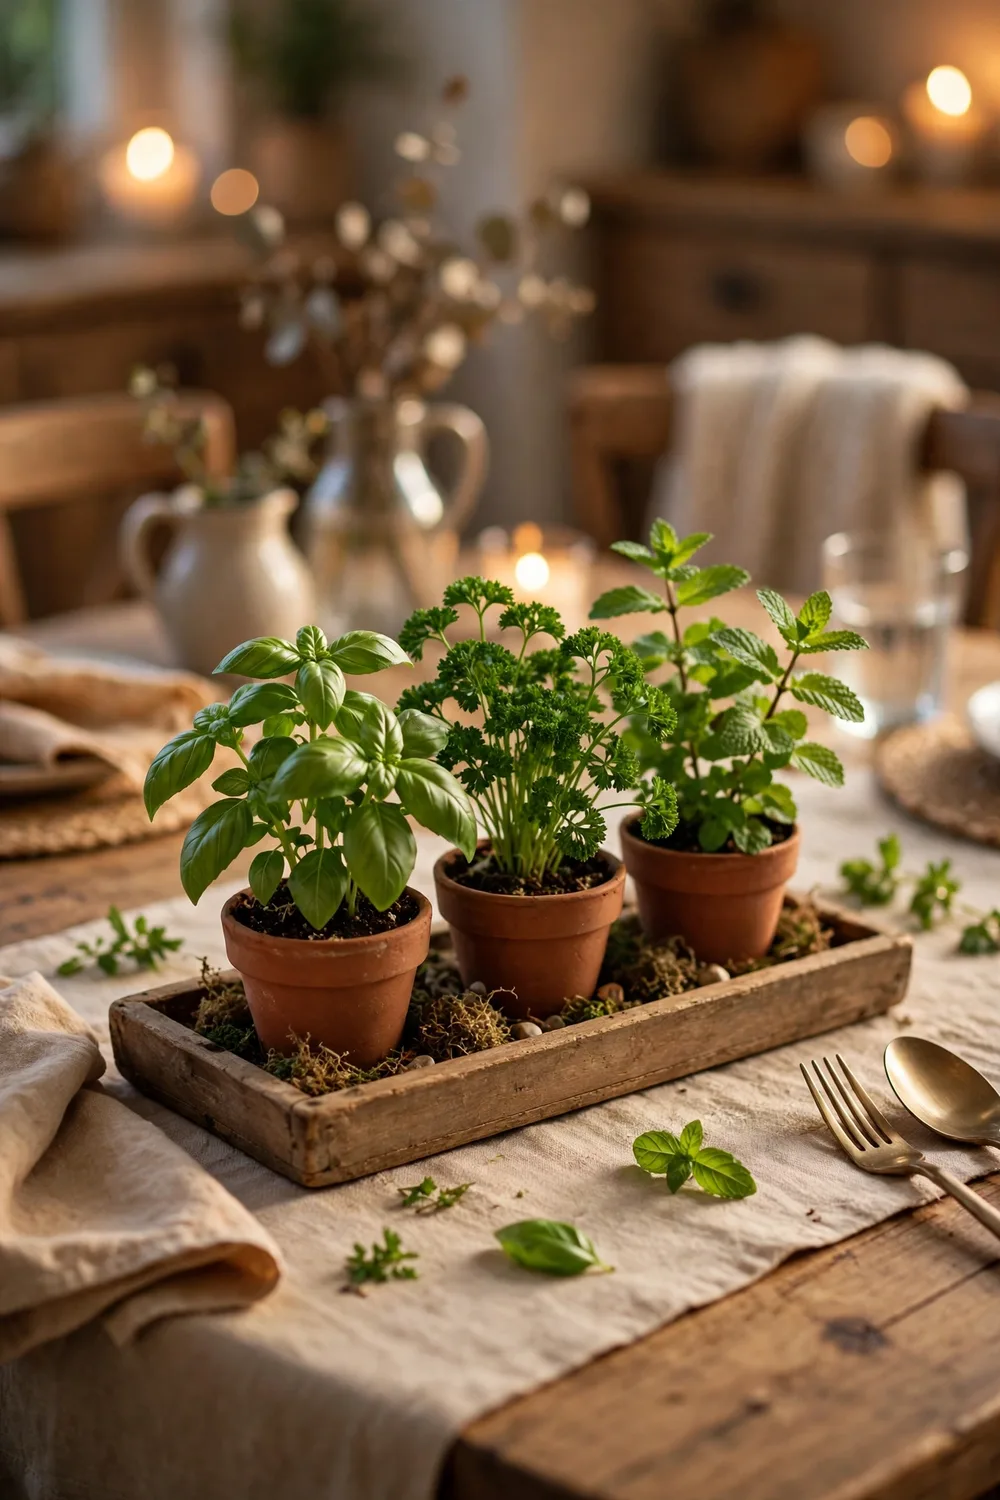
A dining table herb garden puts fresh flavor at the center of every meal. Set a low tray with three small pots in the middle of the table, and plant basil, parsley, and mint. Keep the tray low, so it never blocks the view across the table. The tray lives on the sill for light and comes to the table at mealtimes, so the herbs get sun by day and use at dinner.
I keep a small tray that travels between the sill and our dining table, and guests snip their own mint for tea. The tray works because dinner is where the herbs get used, not admired from a shelf. Use a tray with a rim, so soil never reaches the table. For a sunny table, real herbs win every time.
17. Start Your Herb Garden From Supermarket Pots
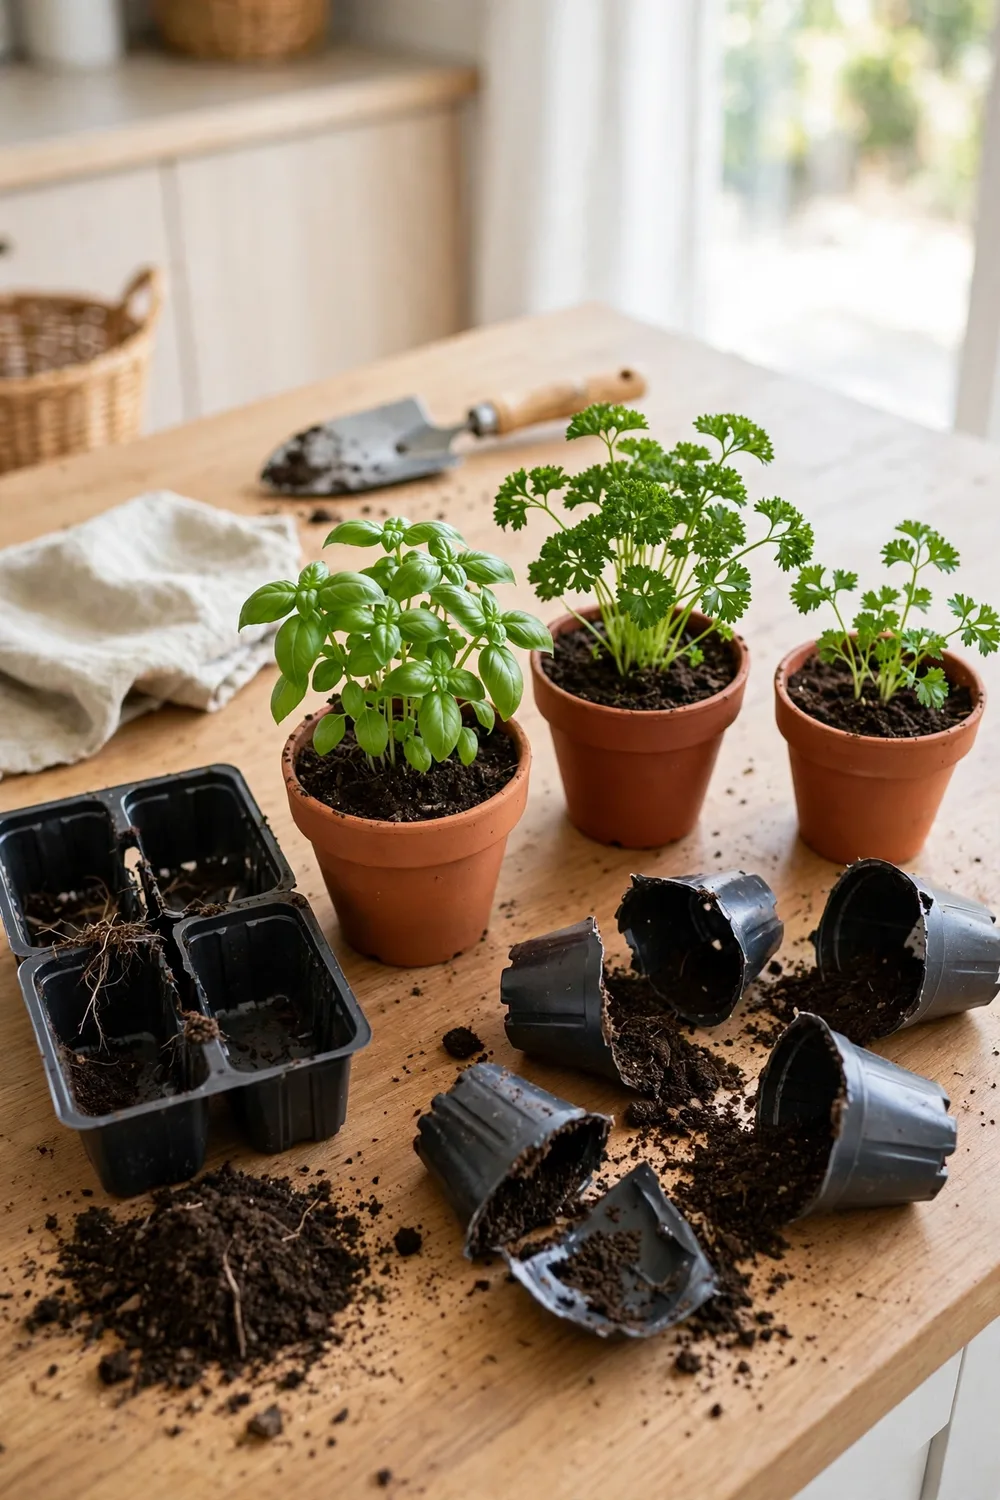
Supermarket herb pots are the cheapest way to start a herb garden, and they are on sale all year. Buy a healthy pot of basil or parsley, split it into two or three smaller clumps, and repot each clump in fresh mix. Supermarket pots are often crowded, so splitting gives each plant room to grow. Water well after repotting, and keep the pots out of harsh sun for a week.
Be honest about the odds: grocery basil is grown in cramped greenhouse conditions and often arrives stressed, so a nursery plant is the safer buy if you want reliability. I started half my herb garden from supermarket pots, and most of them are still going strong. Check the leaves before you buy, skip any pot with yellow leaves or a sour smell, and never transplant grocery cilantro, since its roots hate being disturbed. Repot the same day you bring them home, since the shop soil dries out fast.
5 Mistakes That Kill Indoor Herbs
- Watering on a schedule instead of checking the soil: push a finger an inch deep, and water only when it feels dry.
- Planting mint with other herbs: mint spreads by runners and will swallow its neighbours, so give it its own pot.
- Using a pot with no drainage hole: wet roots kill more herbs than any other mistake, so every pot needs a hole and a saucer you empty.
- Starving herbs of light: most herbs want 6 or more hours of direct sun, and a dark corner grows leggy stems, not flavor.
- Feeding too much: a heavy dose of fertilizer makes herbs taste bland, so feed diluted liquid once a month at half strength, or skip it in winter.
Conclusion
An indoor herb garden is not a project. It is a few pots in the right light, watered on a simple routine, and snipped little and often. Start with three herbs you cook with every week, learn their light and water needs, and add more only when the first pots thrive. The kitchen will smell greener within days, and dinner will taste fresher within weeks.
If you want to grow without soil, these hydroponic herb garden systems show 15 water-based setups for small kitchens.